Winter Camping + What It Takes
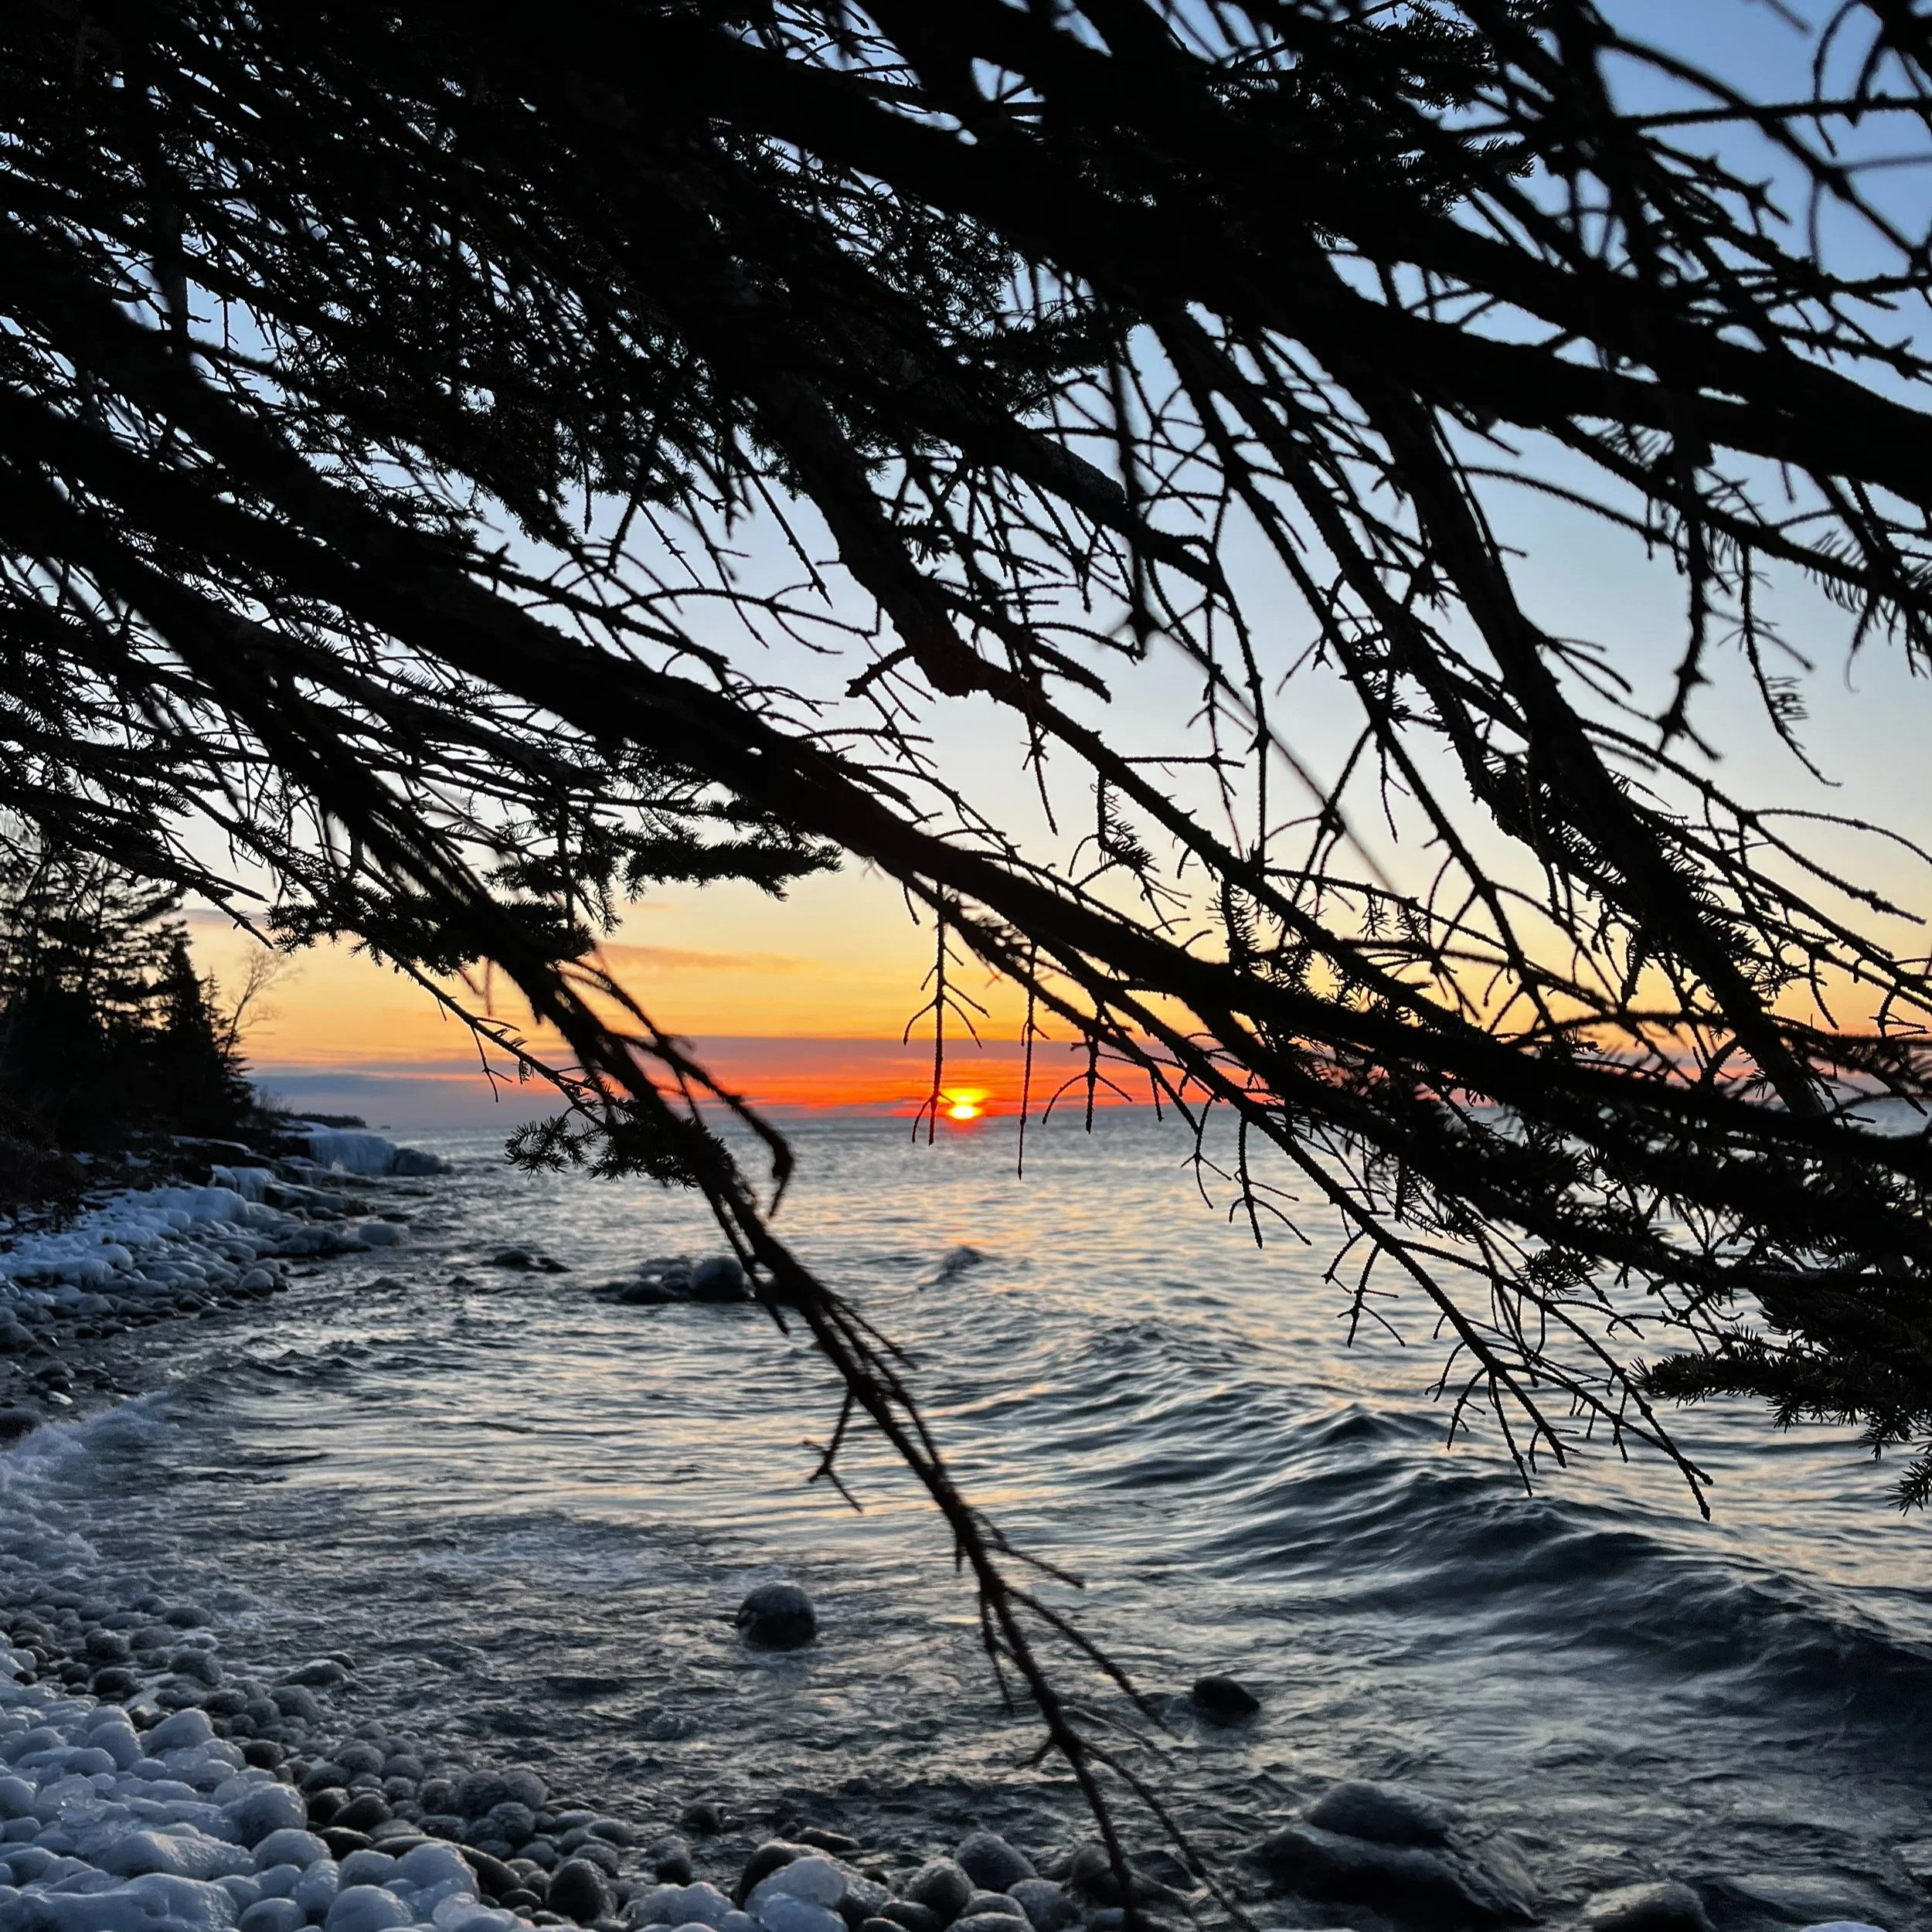
Picture this. You wake up on the shores of Lake Superior and find yourself in the perfect conditions to watch the sun peak over the horizon. The waves are crashing on the beach, with streaks of reds and yellows reflecting off the water. The birds are waking up with the sun and you can literally hear the hints of spring you’ve been waiting for all season. You take a sip of your hot cocoa. And there it is. A sunrise. In March. On the North Shore of Minnesota.
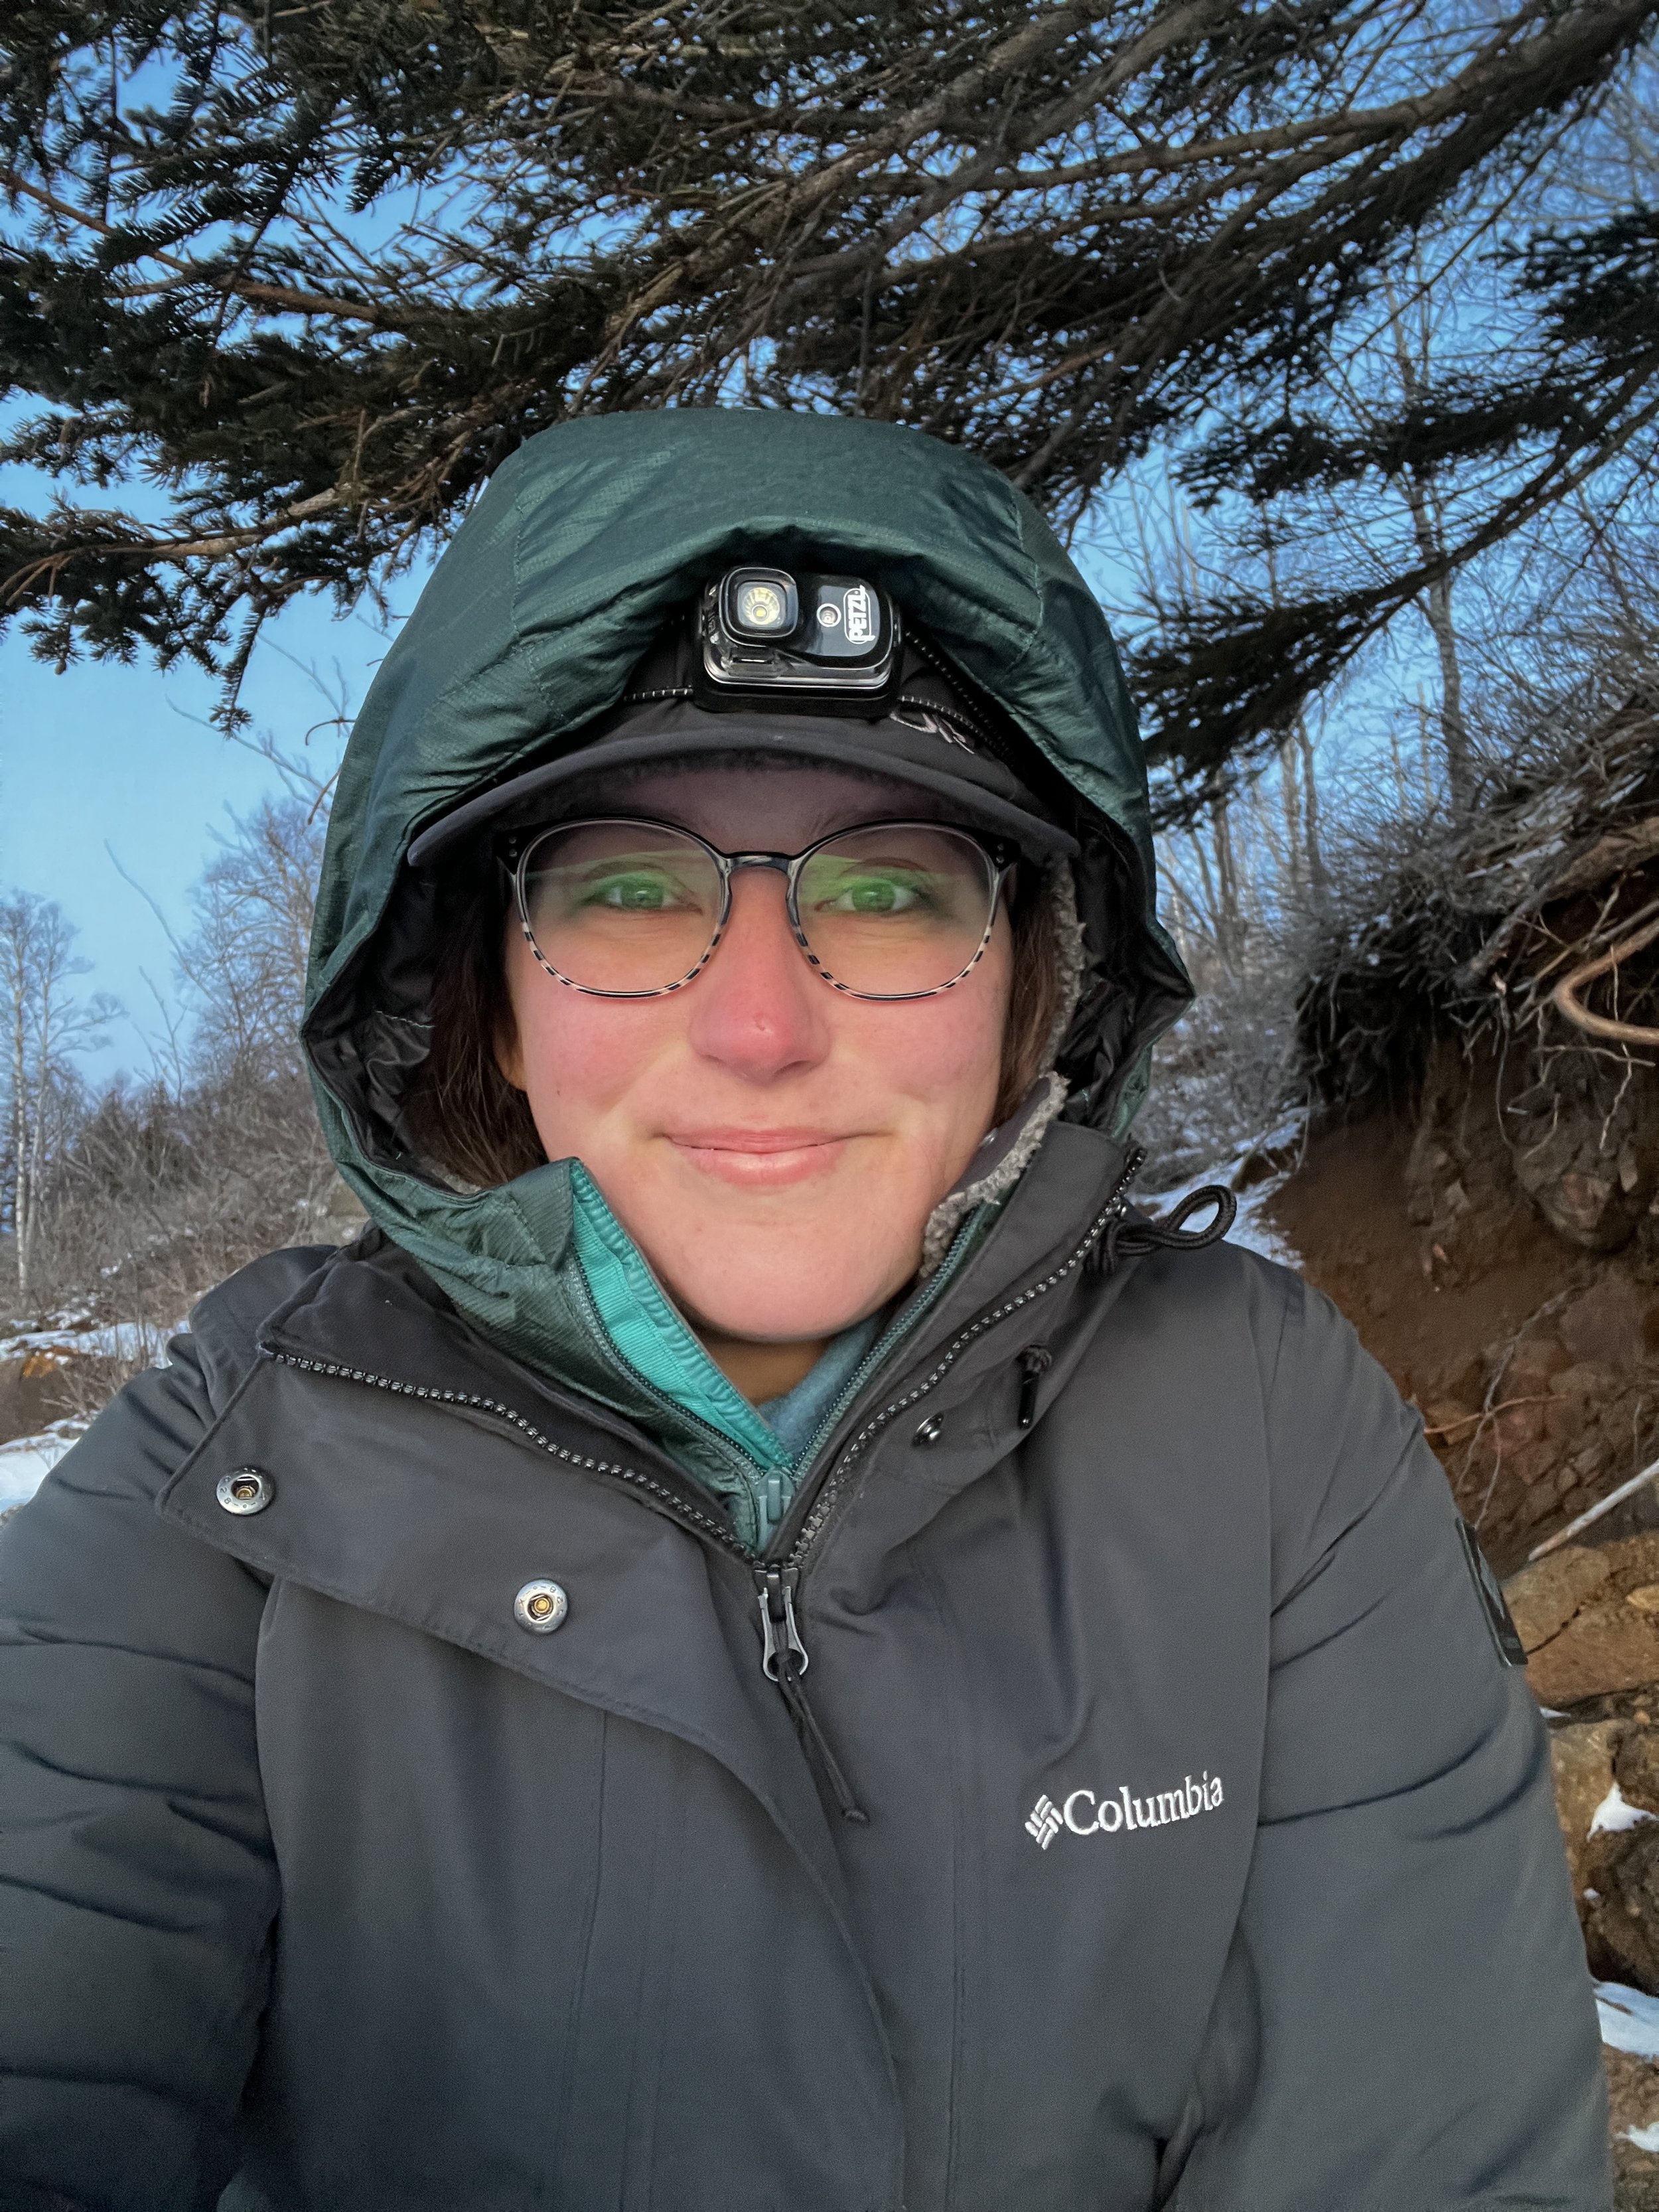
I decided to push a little outside my comfort zone this winter and try cold camping in a tent. I’ve attempted it in the past, but with the wrong gear, and spent the evening shivering and awake and miserable. The main goal this season was to figure out how to stay warm in single digit weather and gues what? I passed the test! So I thought it might be cool to share my experience and some background on the gear choices that got me through it!
There are so many different ways to winter camp. There are woodstove-fired hot tents, 4 season tents, 3 season tents, tarps, and bivy’s. You can carry all of your supplies on your back or pull them on a pulk sled. You can pitch your tent on the ice, reserve a site at a state park, or explore a long trail and set up next to a shelter. There really isn’t a wrong answer, it’s all about finding what works best for you. I’m going to share about backpacking and using a pulk sled, because those are the two experiences I had this winter. But I’m also not an expert - I literally just started doing this in the last few months - so take my advice with a grain of salt.

What I Packed | Winter Camping Gear
First things, first, the gear. The tools that kept me warm on a cold winter night. On most of my trips this winter, the evening temperatures dipped below 15 degrees - brrr! So it was really important to now what to bring to … stay alive?… stay “comfortable” … get some sleep!? Midwest winters are no joke. Cold temps and humidity are a real challenge. You’ll need a sturdy tent, a warm sleeping bag, two sleeping pads and a stove suitable for cold temperatures. REI has some incredible resources for winter camping preparations, including this packing list, and here’s the combination that worked for me.
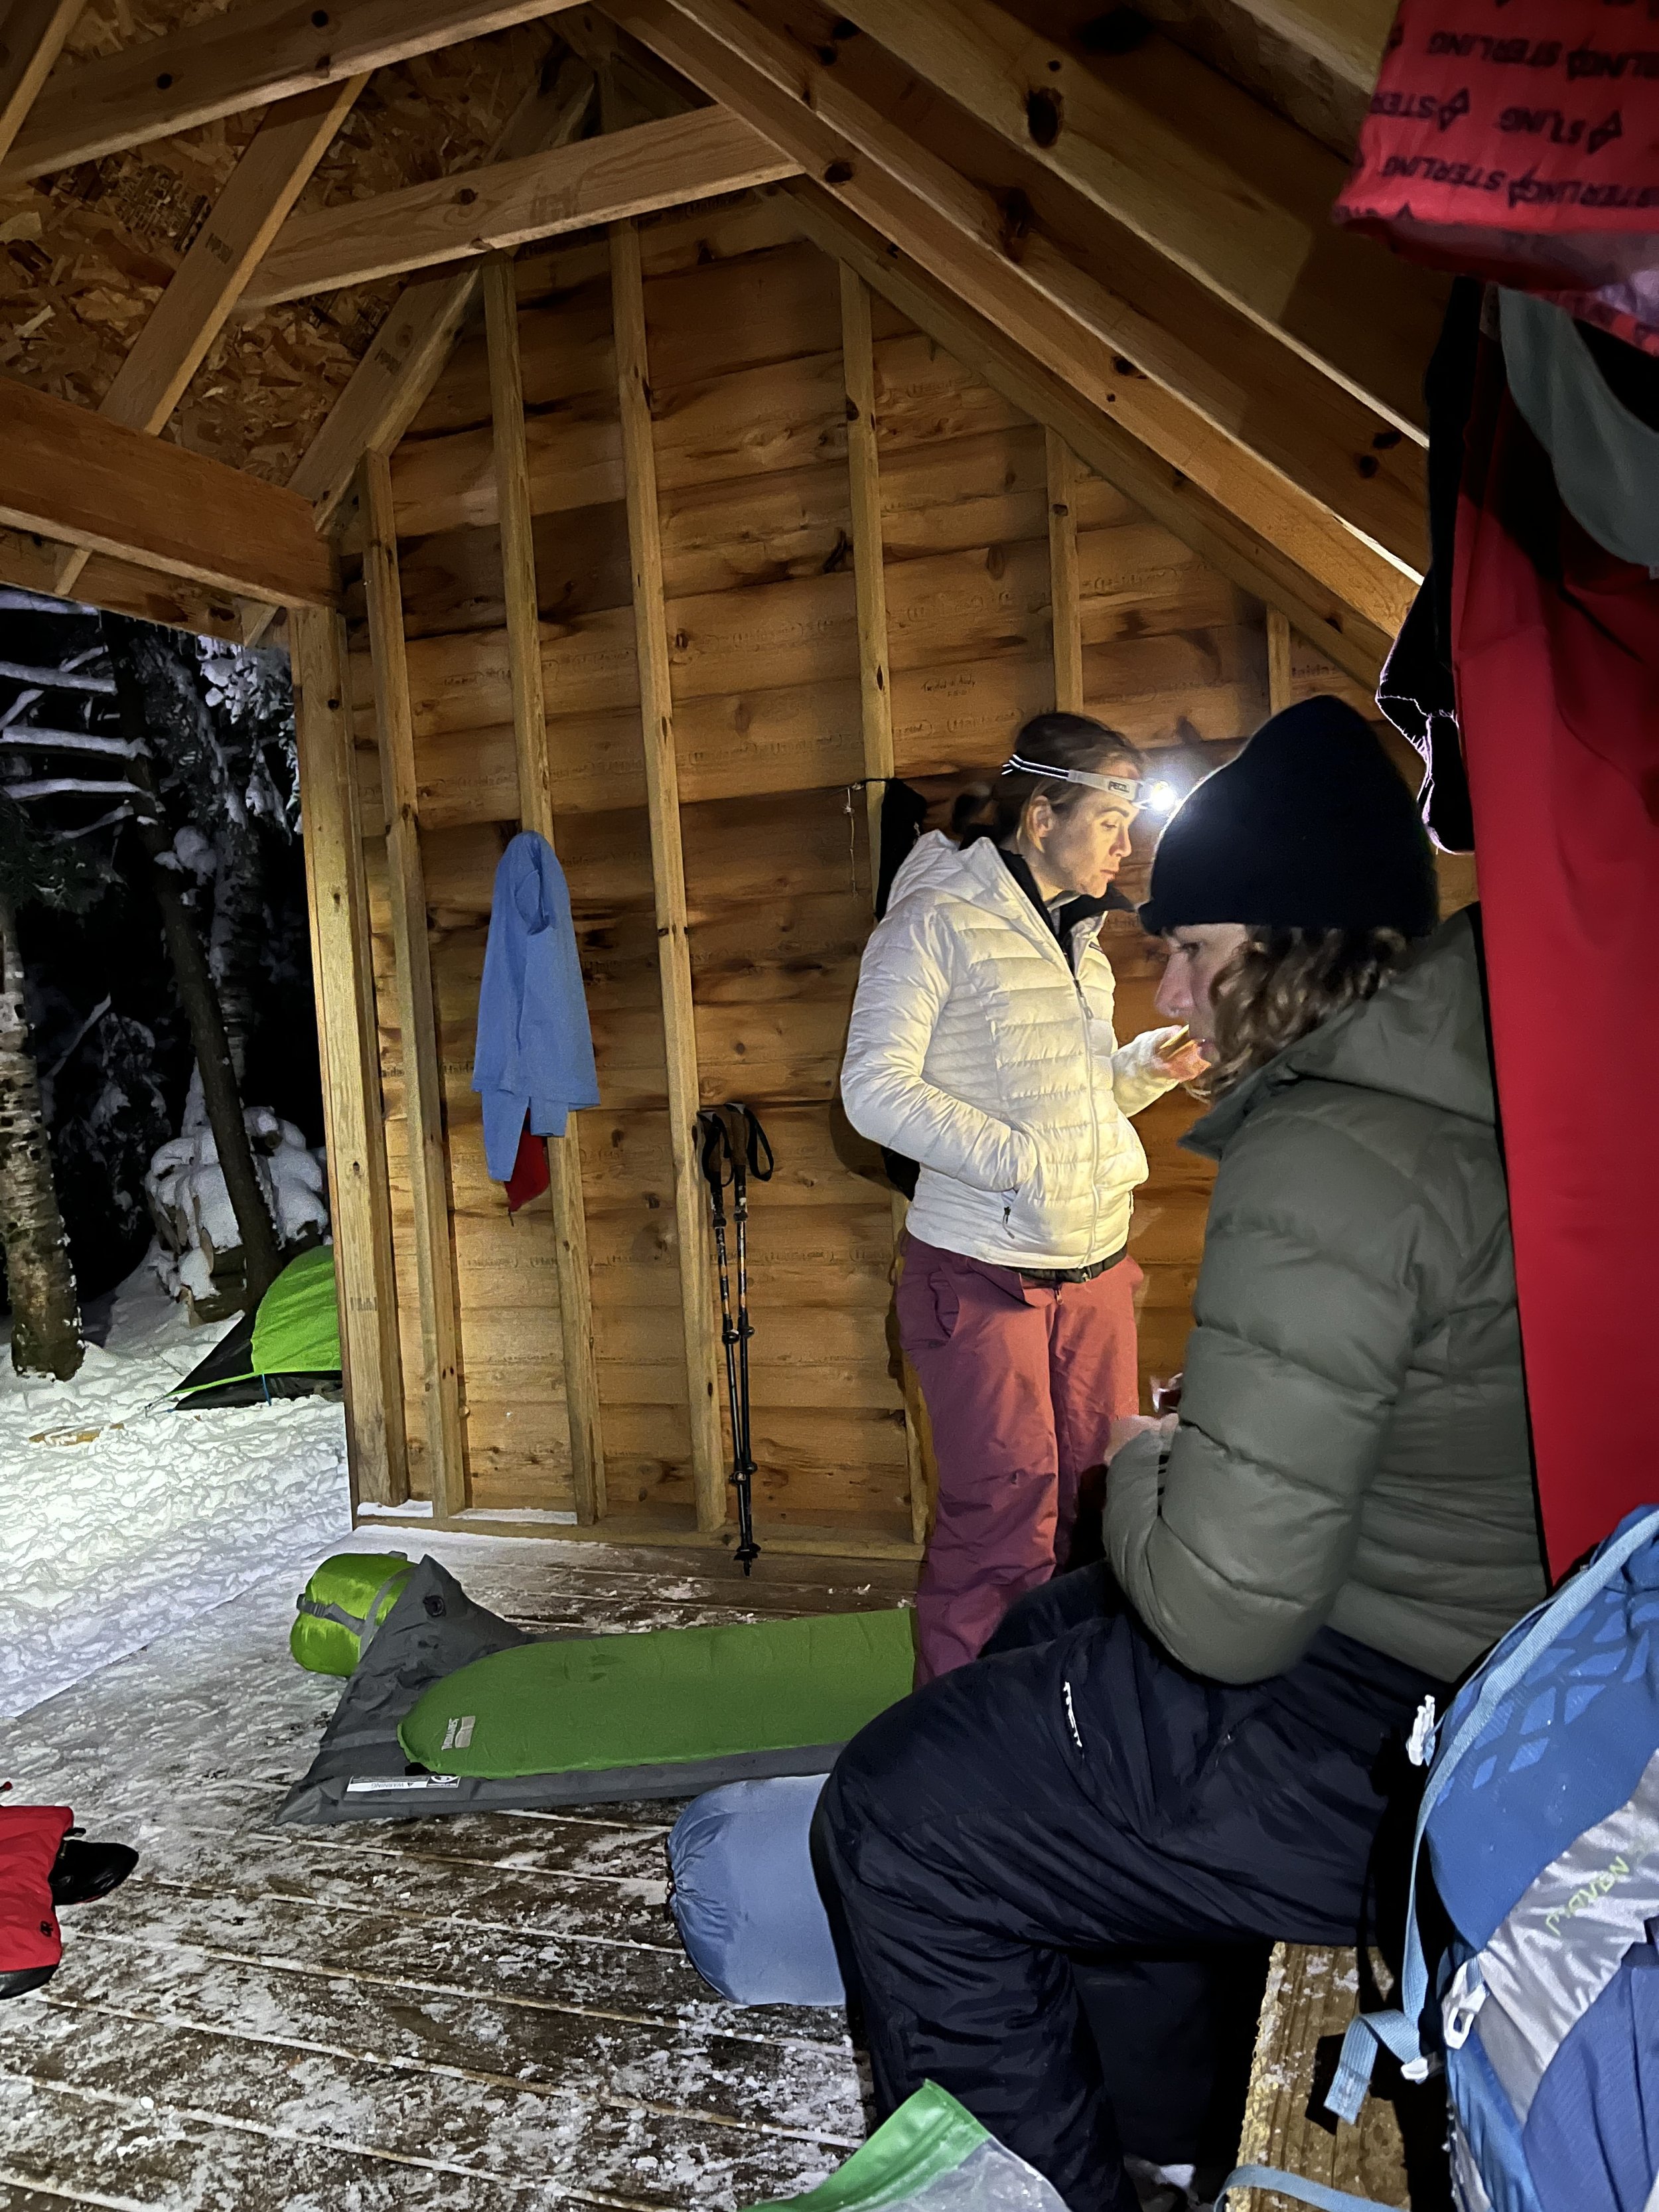
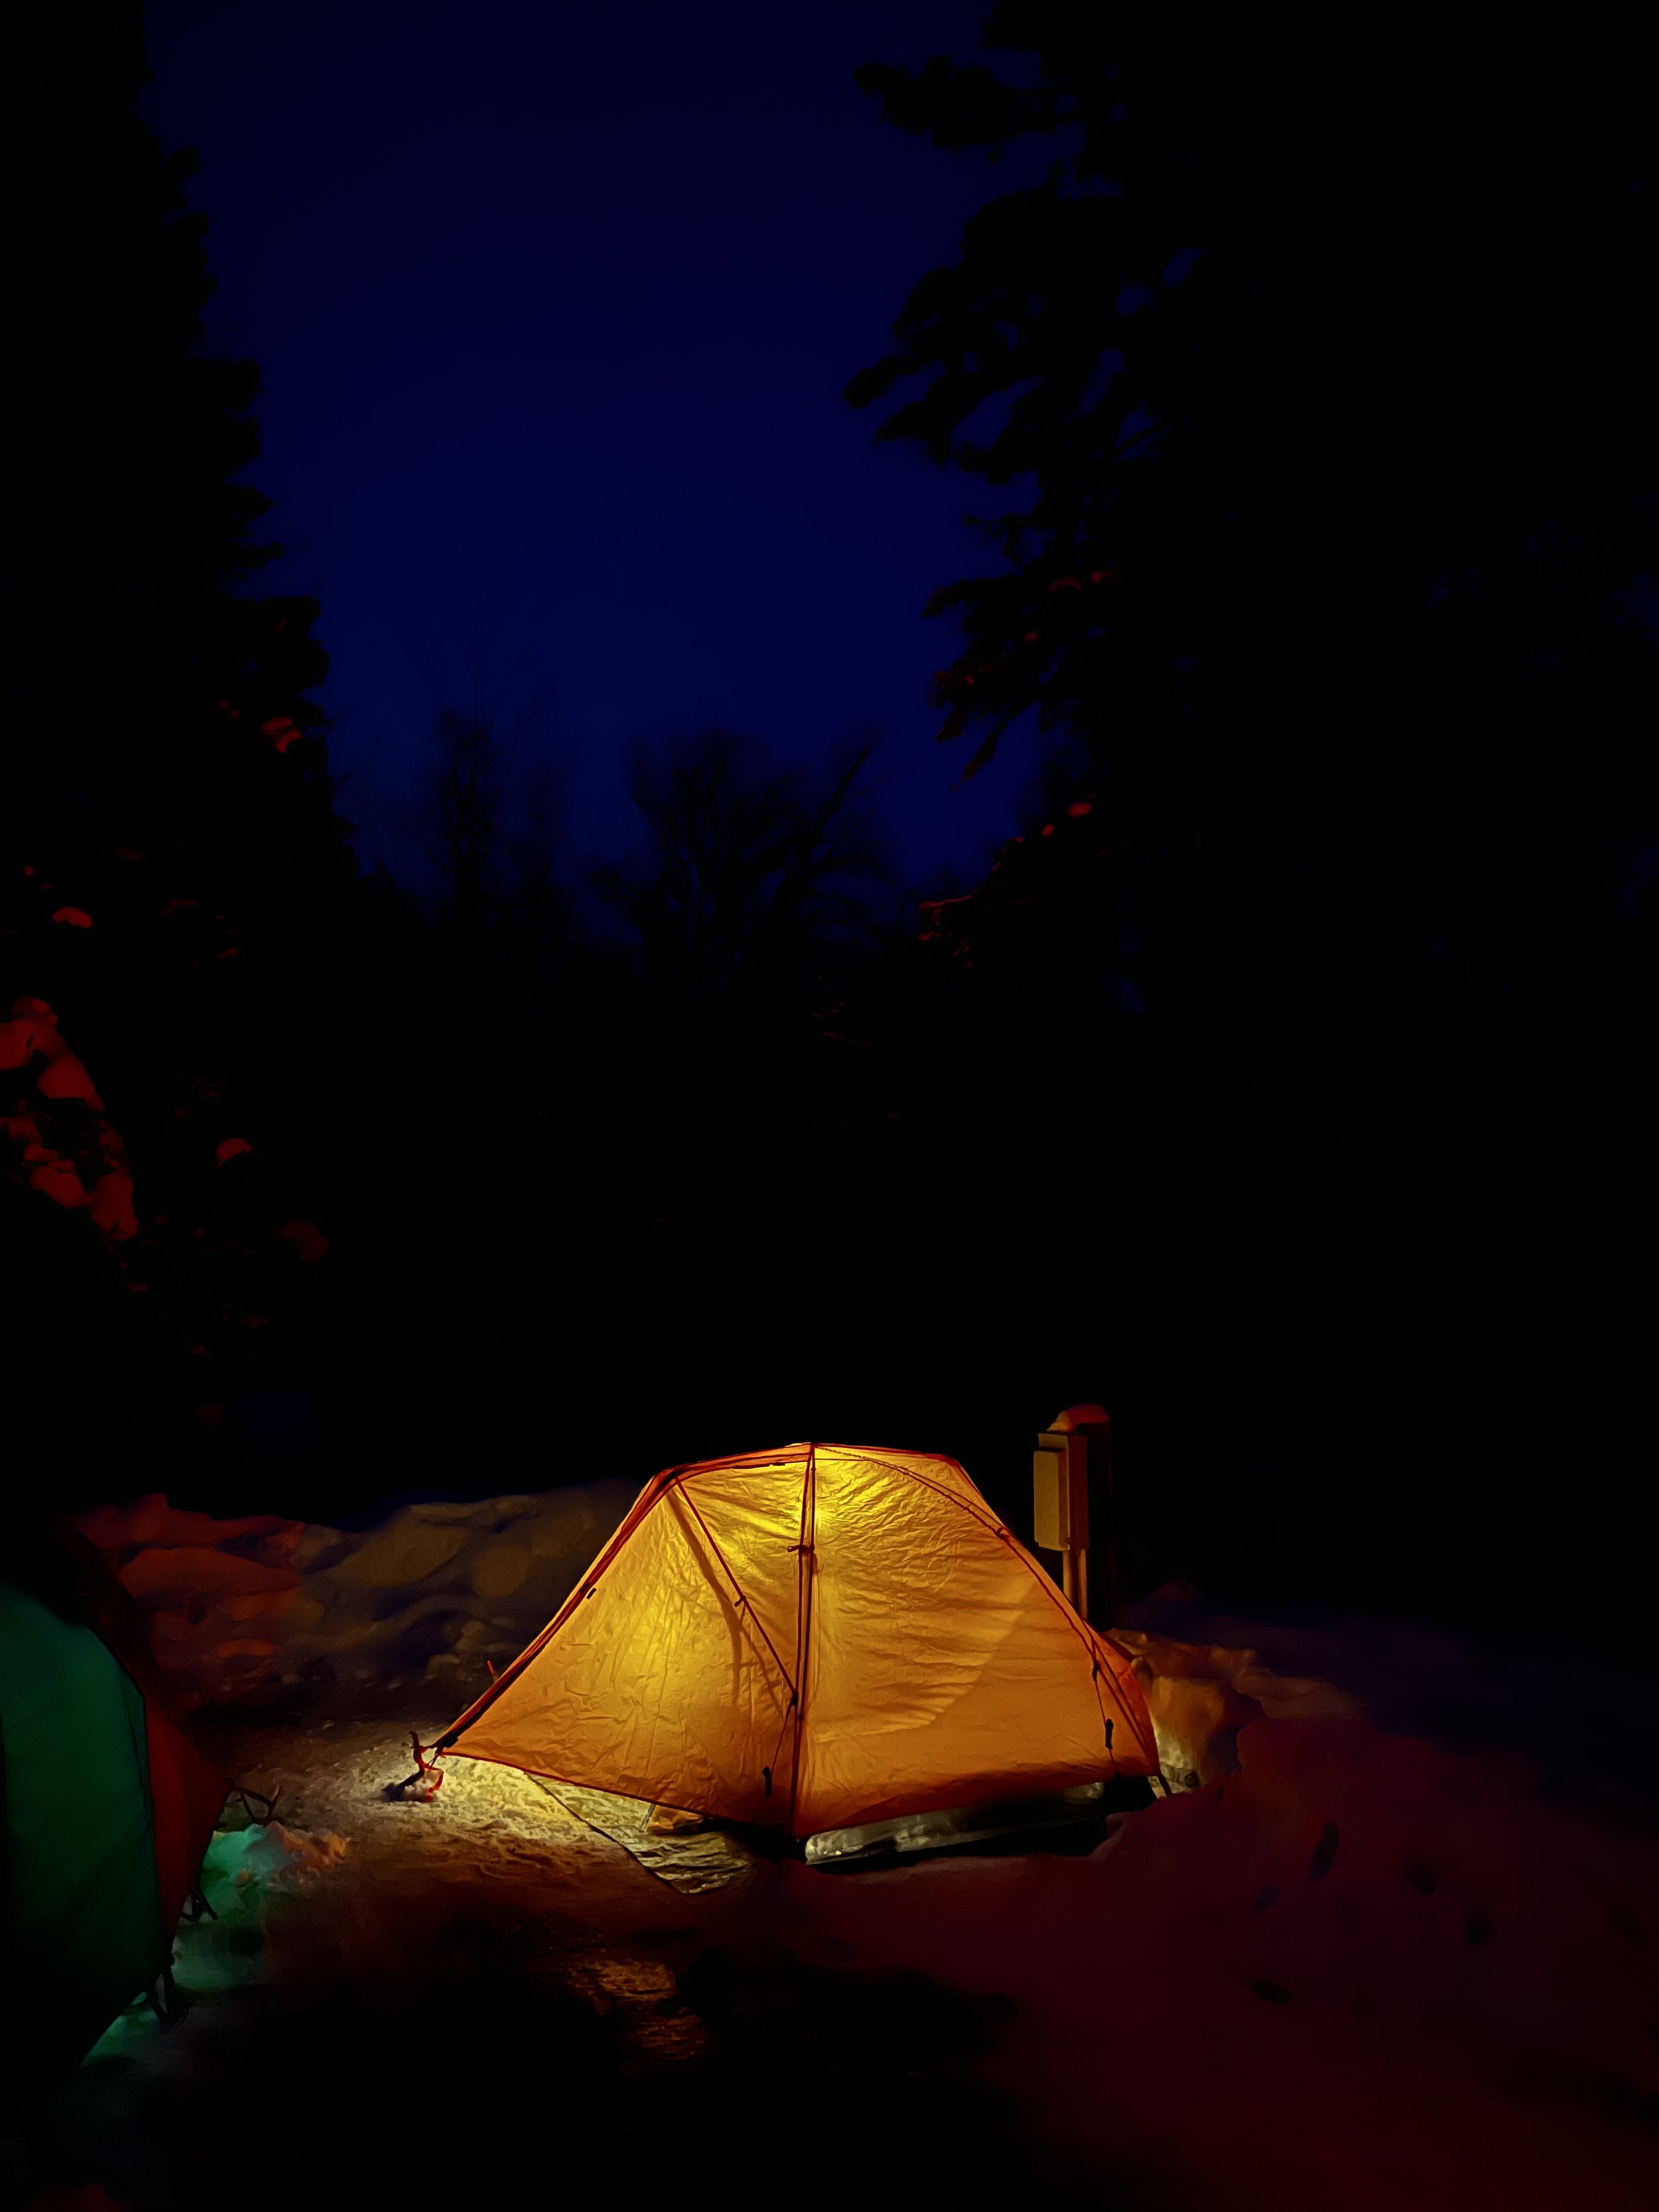
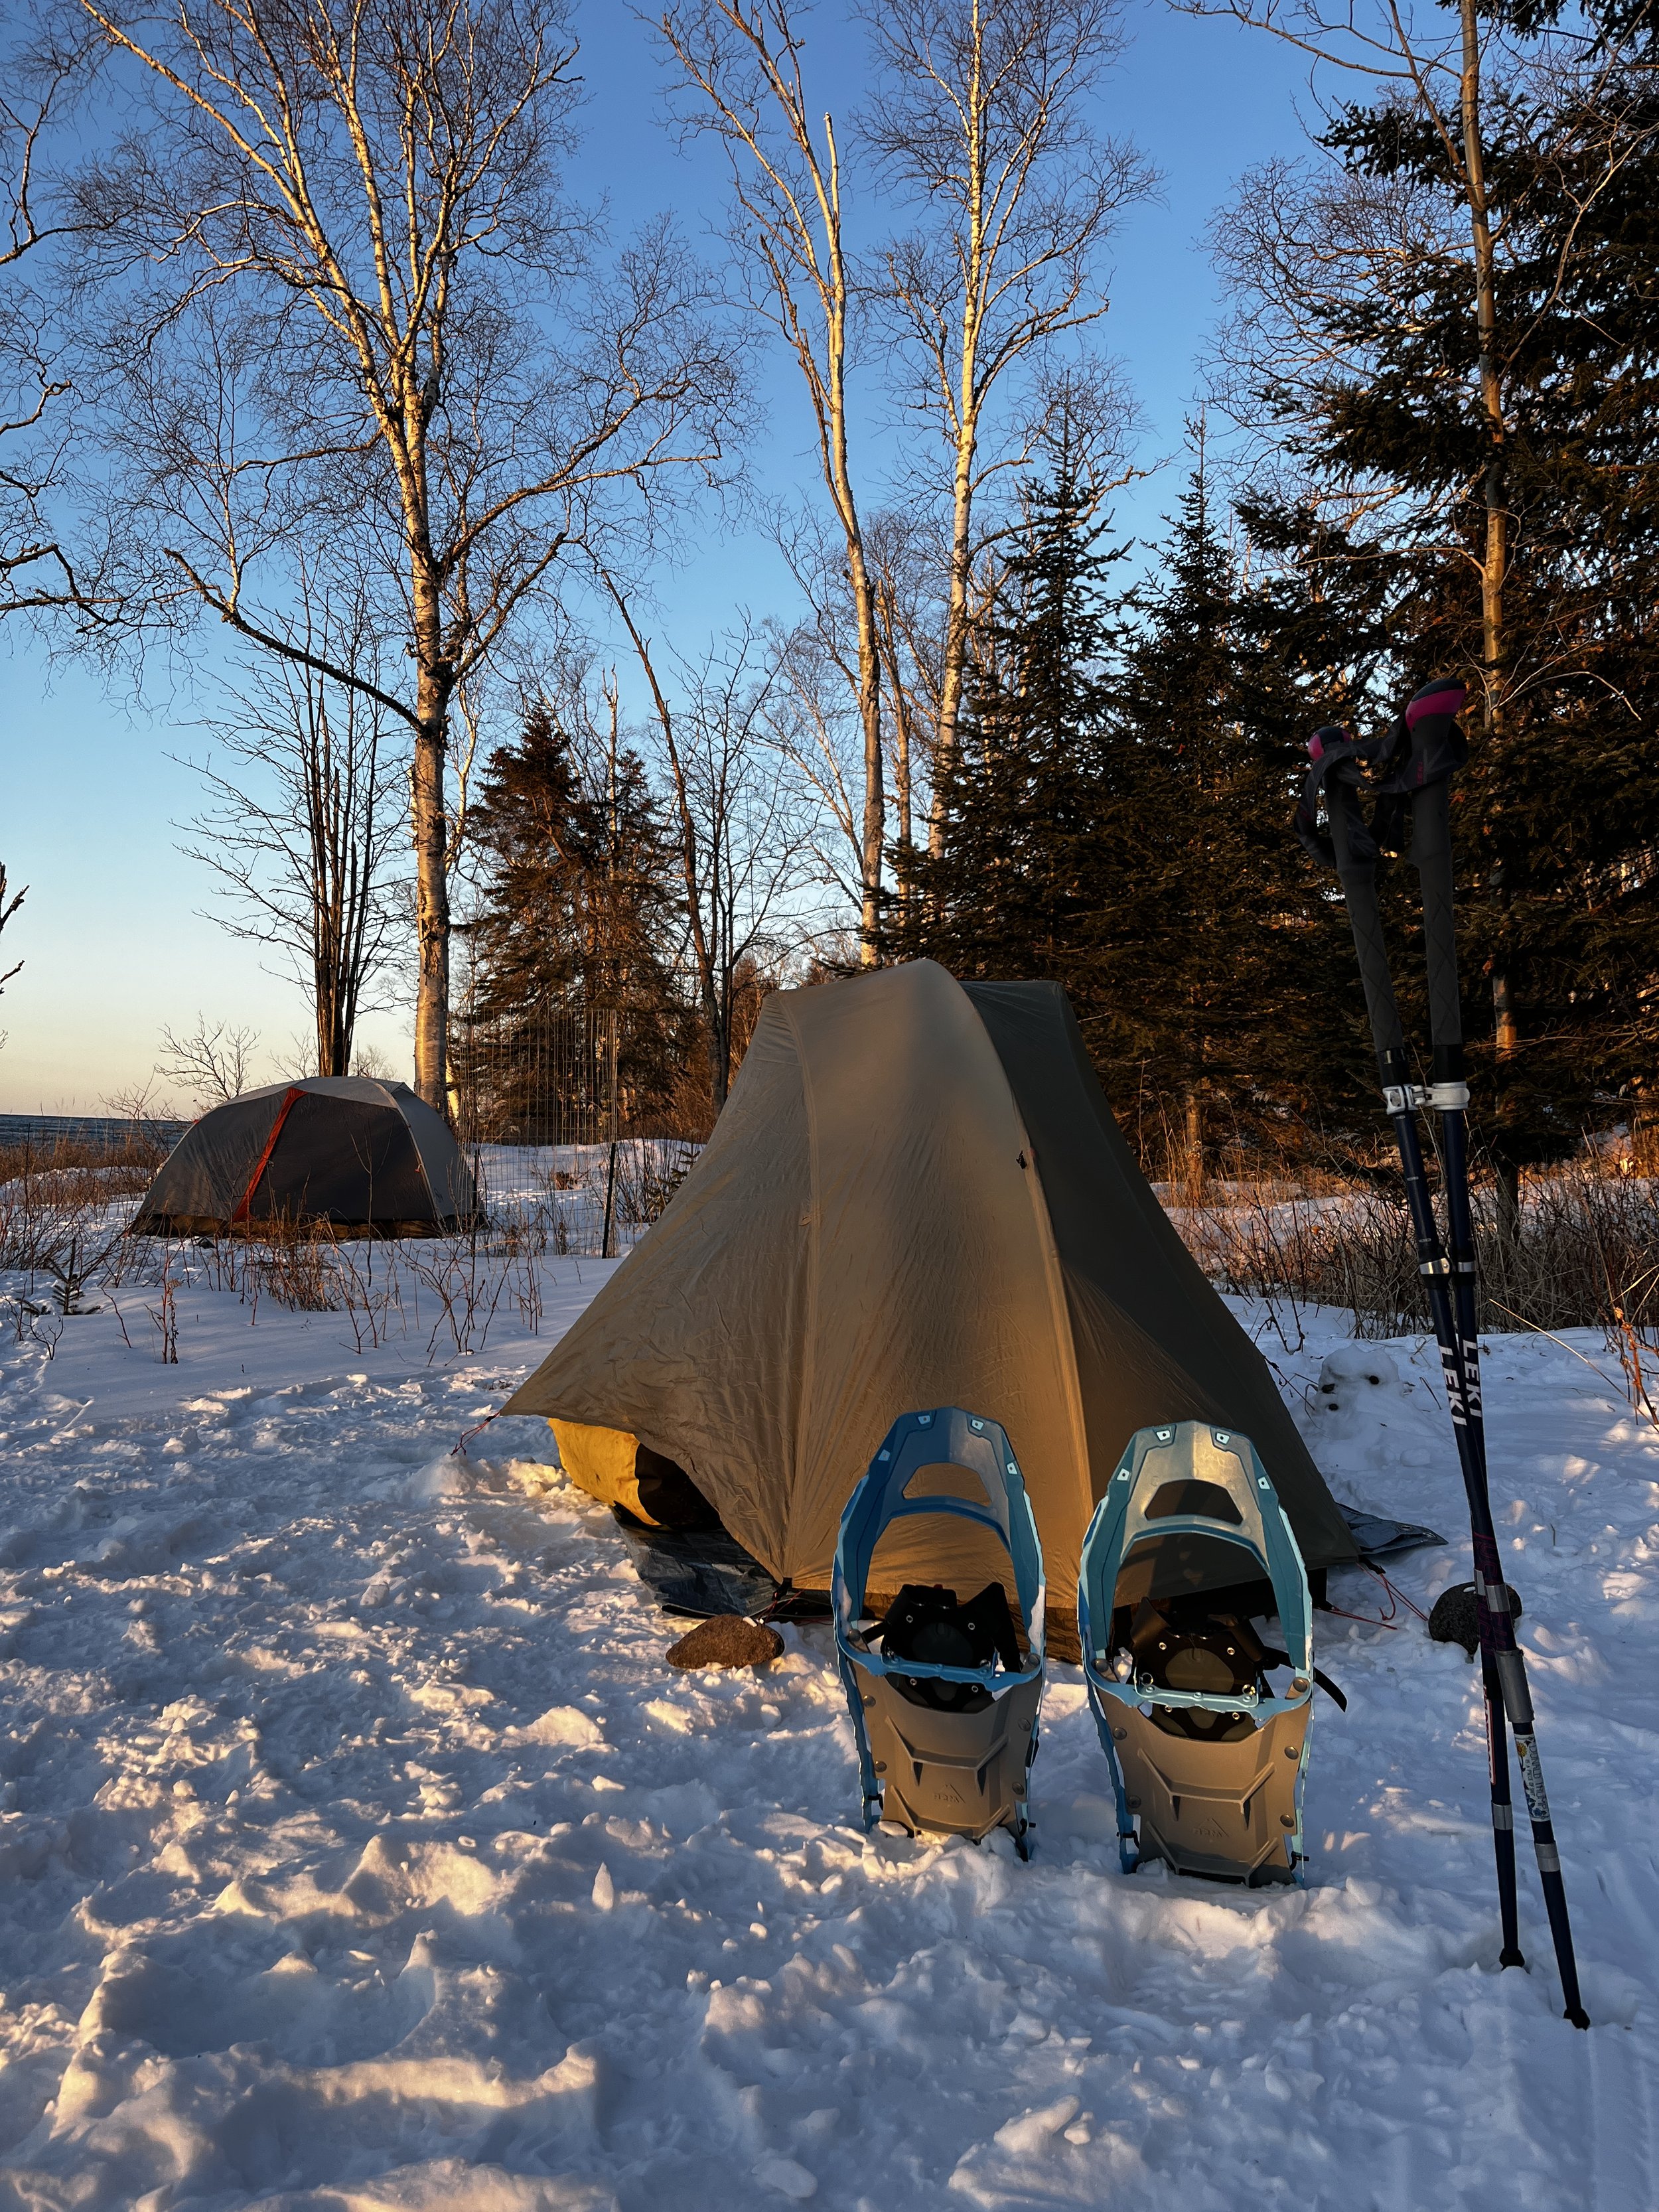
Three Season Backpacking Tent - I don’t have a four season backpacking tent and didn’t want to invest in one without knowing if I liked winter camping. In all other seasons, I carry the REI Quarterdome backpacking tent. The Quarterdome is a one-person tent, so there’s not a whole lot of room. Two of my winter camping destinations had a three-sided shelter where I could store a majority of my gear at night and it worked out great. Sadly, REI has since discontinued this tent, but there are many tents out there with similar designs. The alternative option is to bring a two-person tent so that there’s extra space to put your things while you sleep.
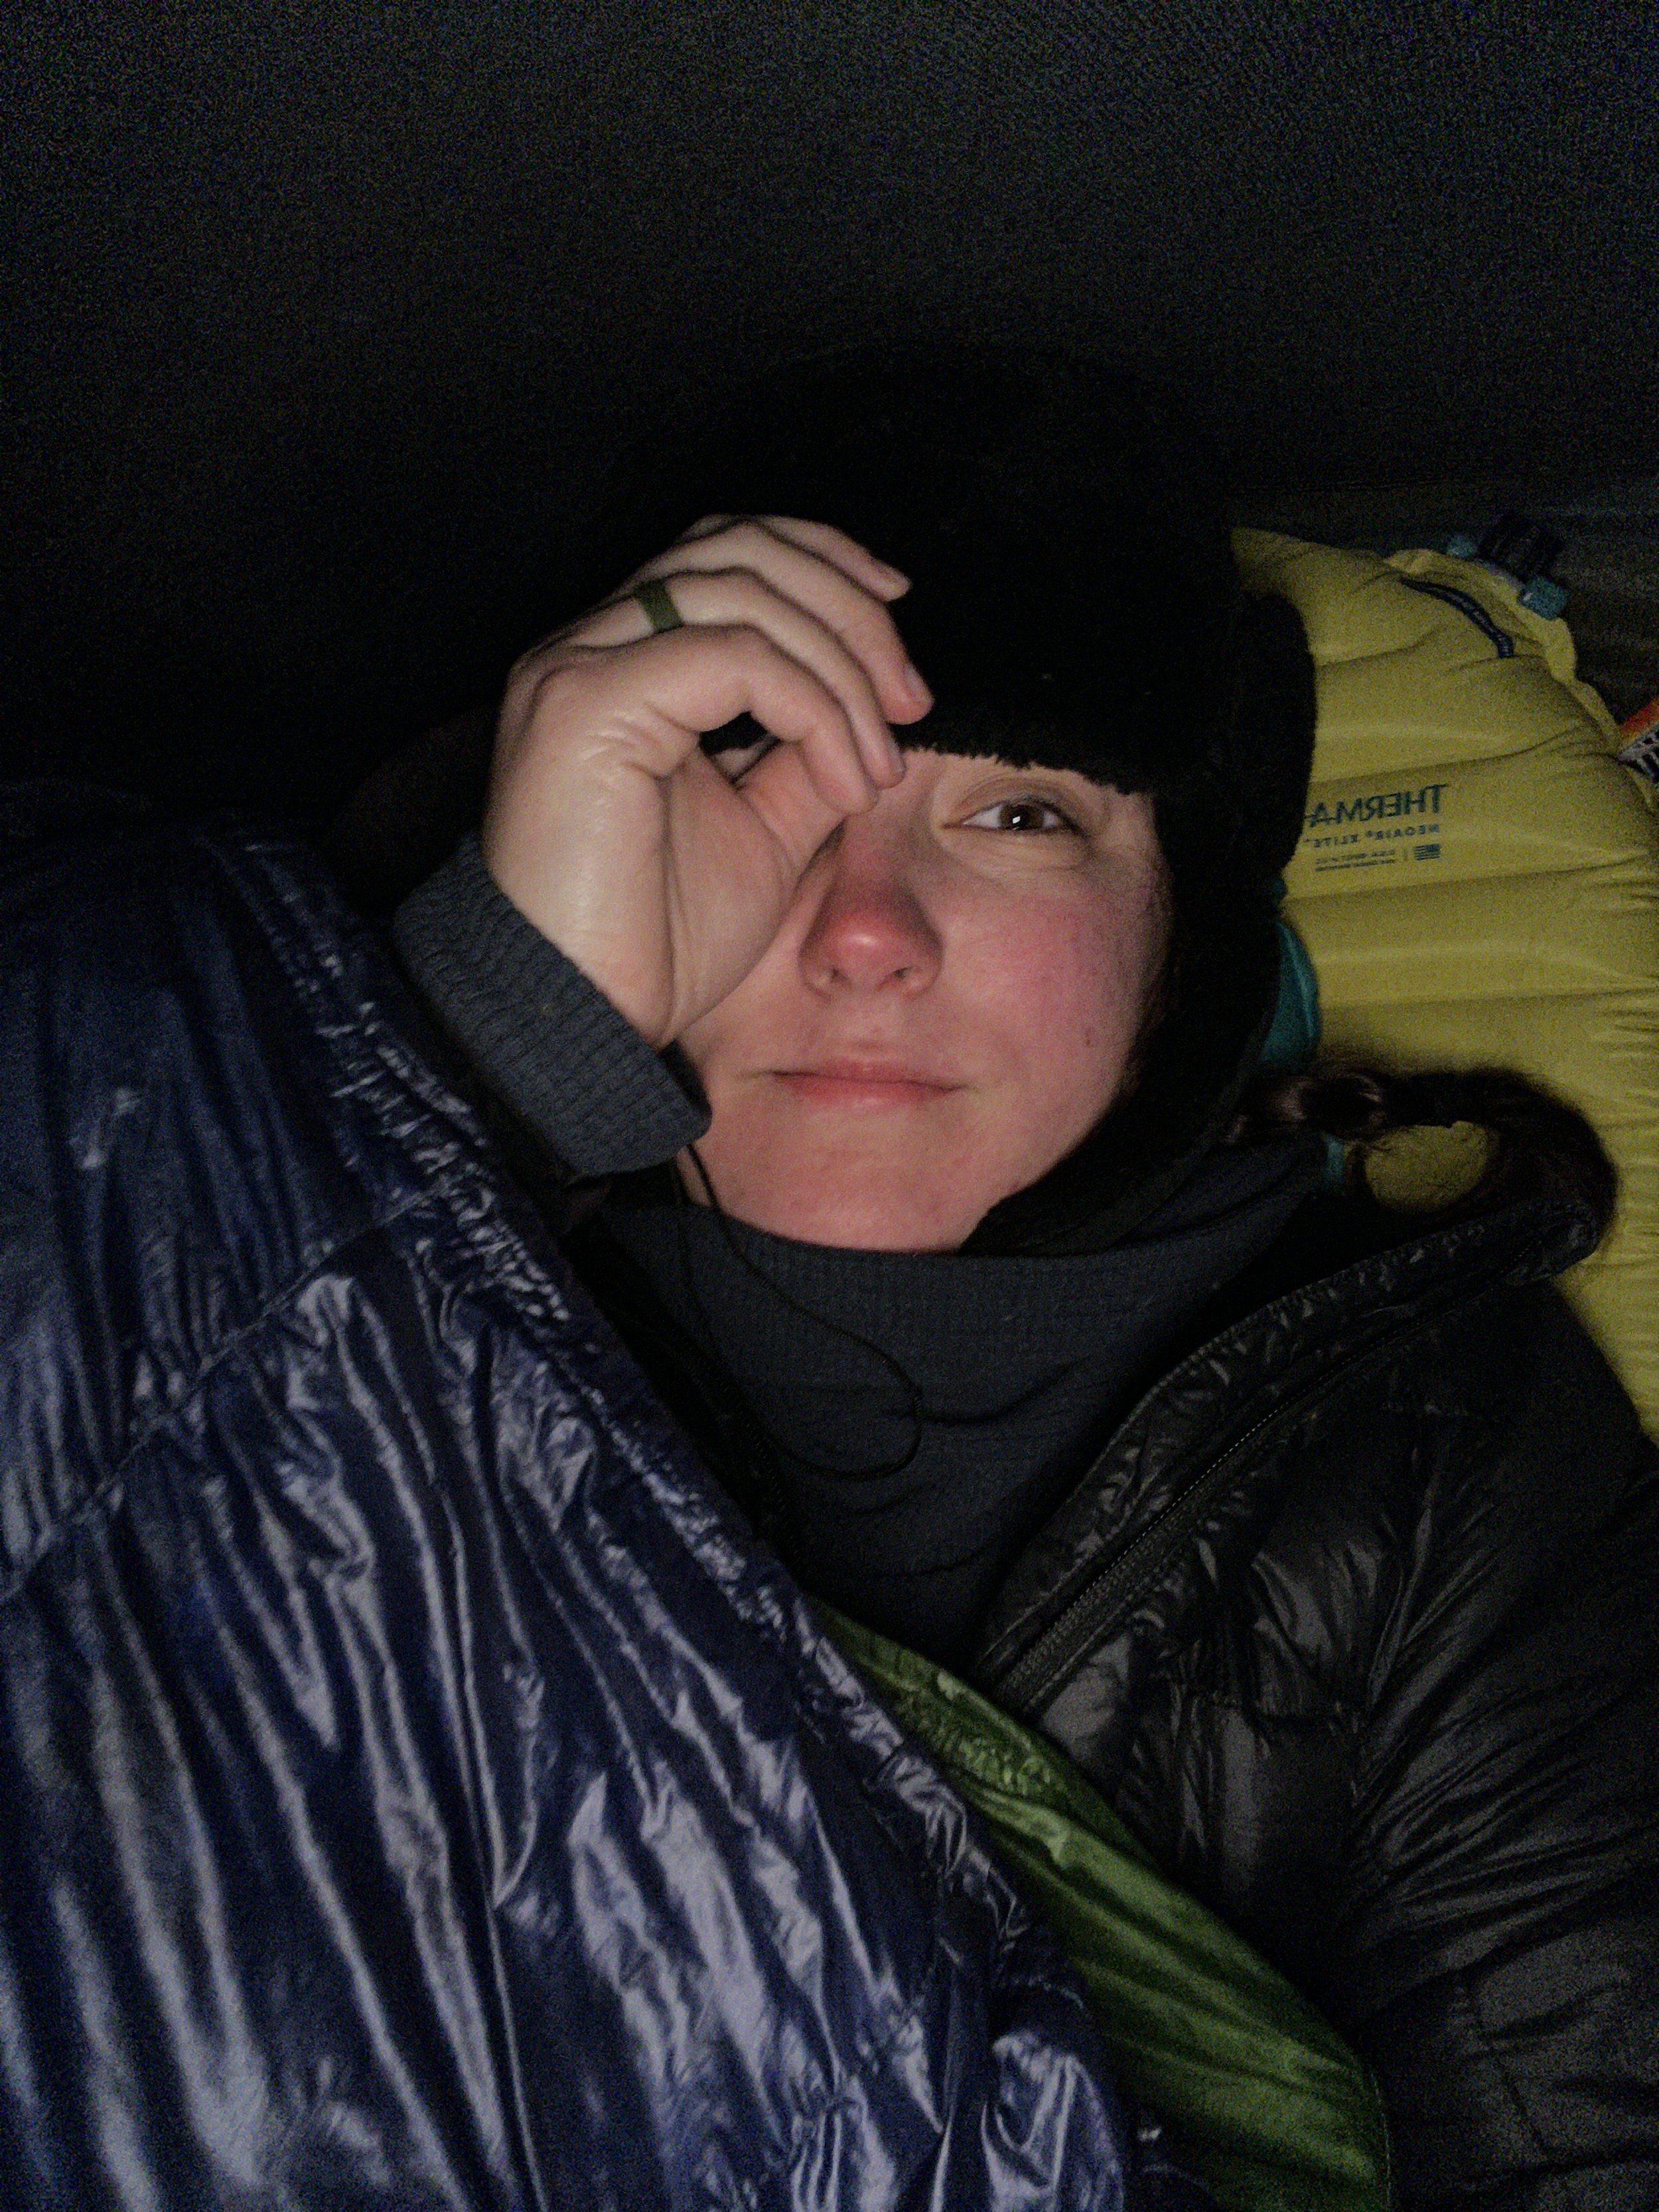
One Sleeping Bag + One Quilt - To ensure comfort on cold nights, it’s a good idea to use a bag that's rated at least 10°F lower than the coldest temperature you expect to encounter. You can always vent the bag if you get too warm. I started the season out with two quilts from Enlightened Equipment, but struggled with a cold draft while sleeping. A 15 degree night with a cold draft was enough to talk me into purchasing a zero degree, mummy style sleeping bag. The combination that really worked well was a zero degree sleeping bag and a ten degree EE quilt. I buckle the quilt over the top of the sleeping bag and stayed toasty warm.
One Inflatable Sleeping Pad + One Closed Cell Foam Pad - For winter camping, use two full-length pads to keep from losing body heat on snowy surfaces. Pads are rated by R-value, the measurement of insulation, ranging from 1.0 and 8.0. The higher the R-value, the better it insulates. I already had two sleeping pads for backpacking, so those are the ones I chose to go with. One is a Thermarest NeoAir XLite and the other is a Nemo Switchback.
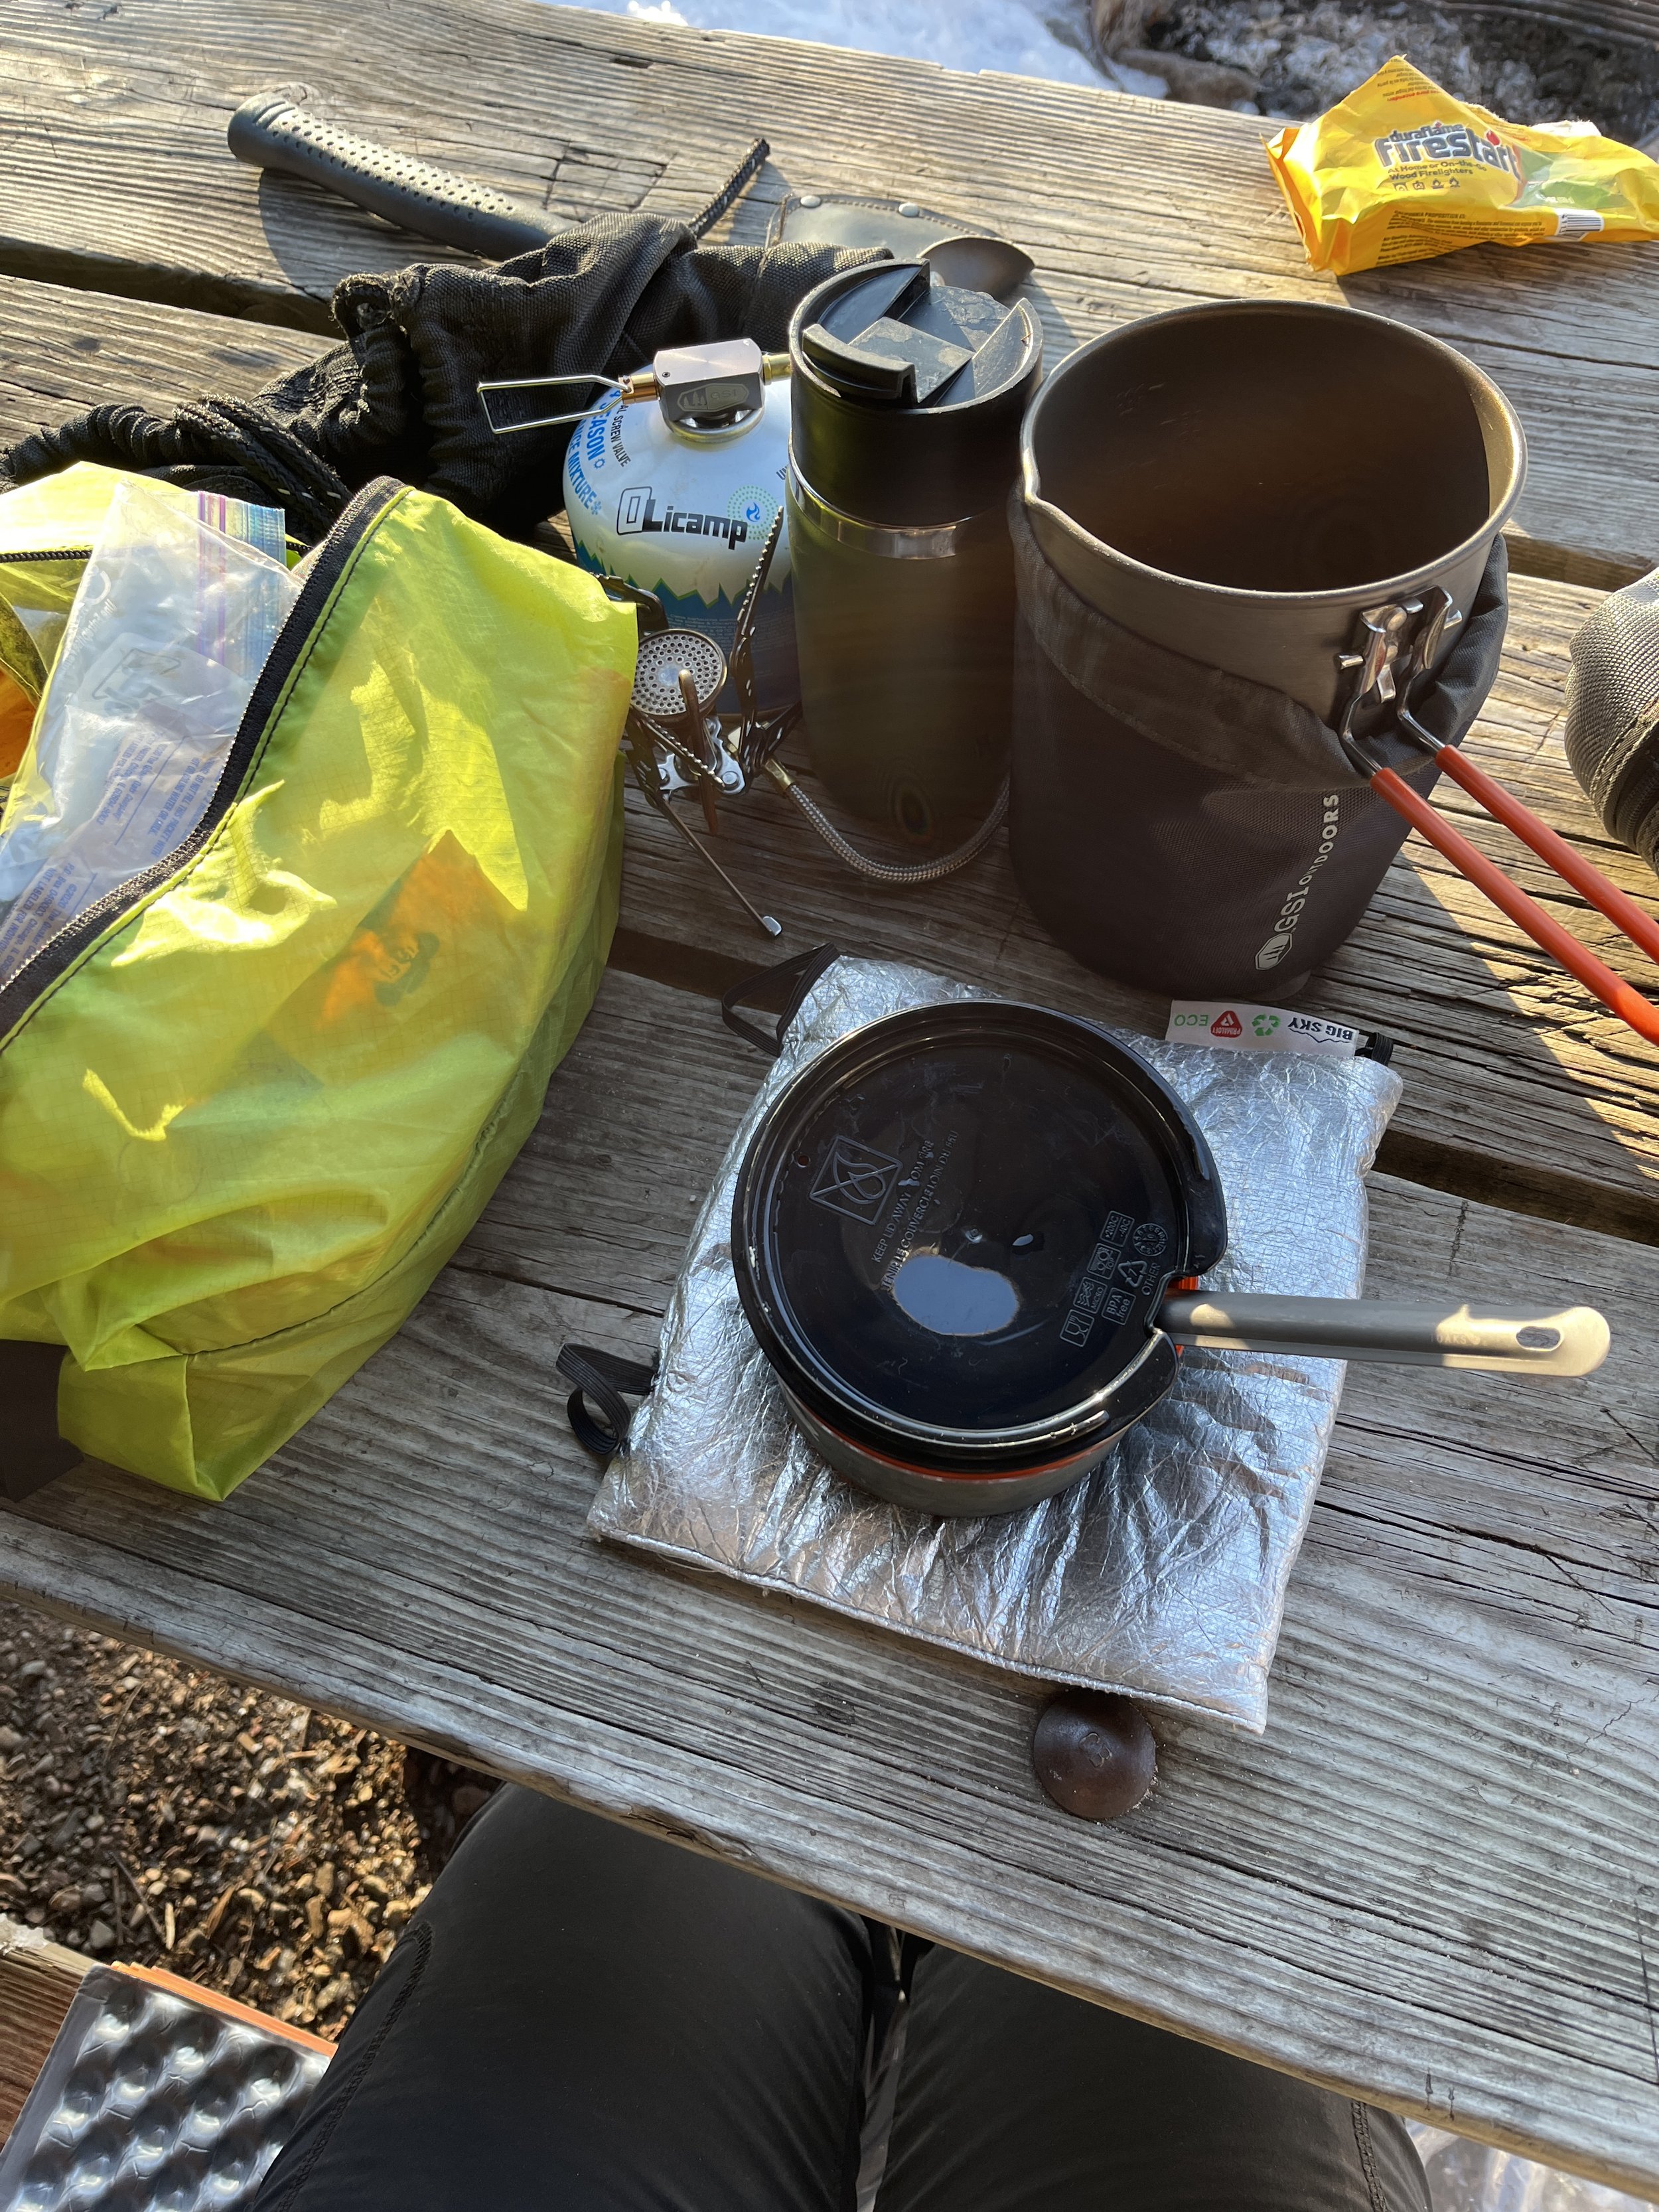
Backpacking Stove + Cookware - I usually bring my Jetboil Zip Cooking System, but learned very quickly that it does not function well in freezing temps. In cold weather, canisters can depressurize and produce a weak flame. After my first winter trip, I borrowed a GSI Pinnacle 4 Season Stove from a friend and it worked like a charm! The difference between the two is the built-in wind protection and fuel pressure regulator. This stove is compatible with the same fuel canisters I use during other seasons. I would recommend bringing two fuel canisters on each trip, just in case something happens or you run out of fuel. Warm drinks and food are a great way to keep your body heat going. You’ll need a pot to boil water, a mug to mix hot cocoa (duh!), and a spoon to eat with. I carry my water in a Nalgene Bottle with an insulated bottle carrier to help stop my water from freezing.
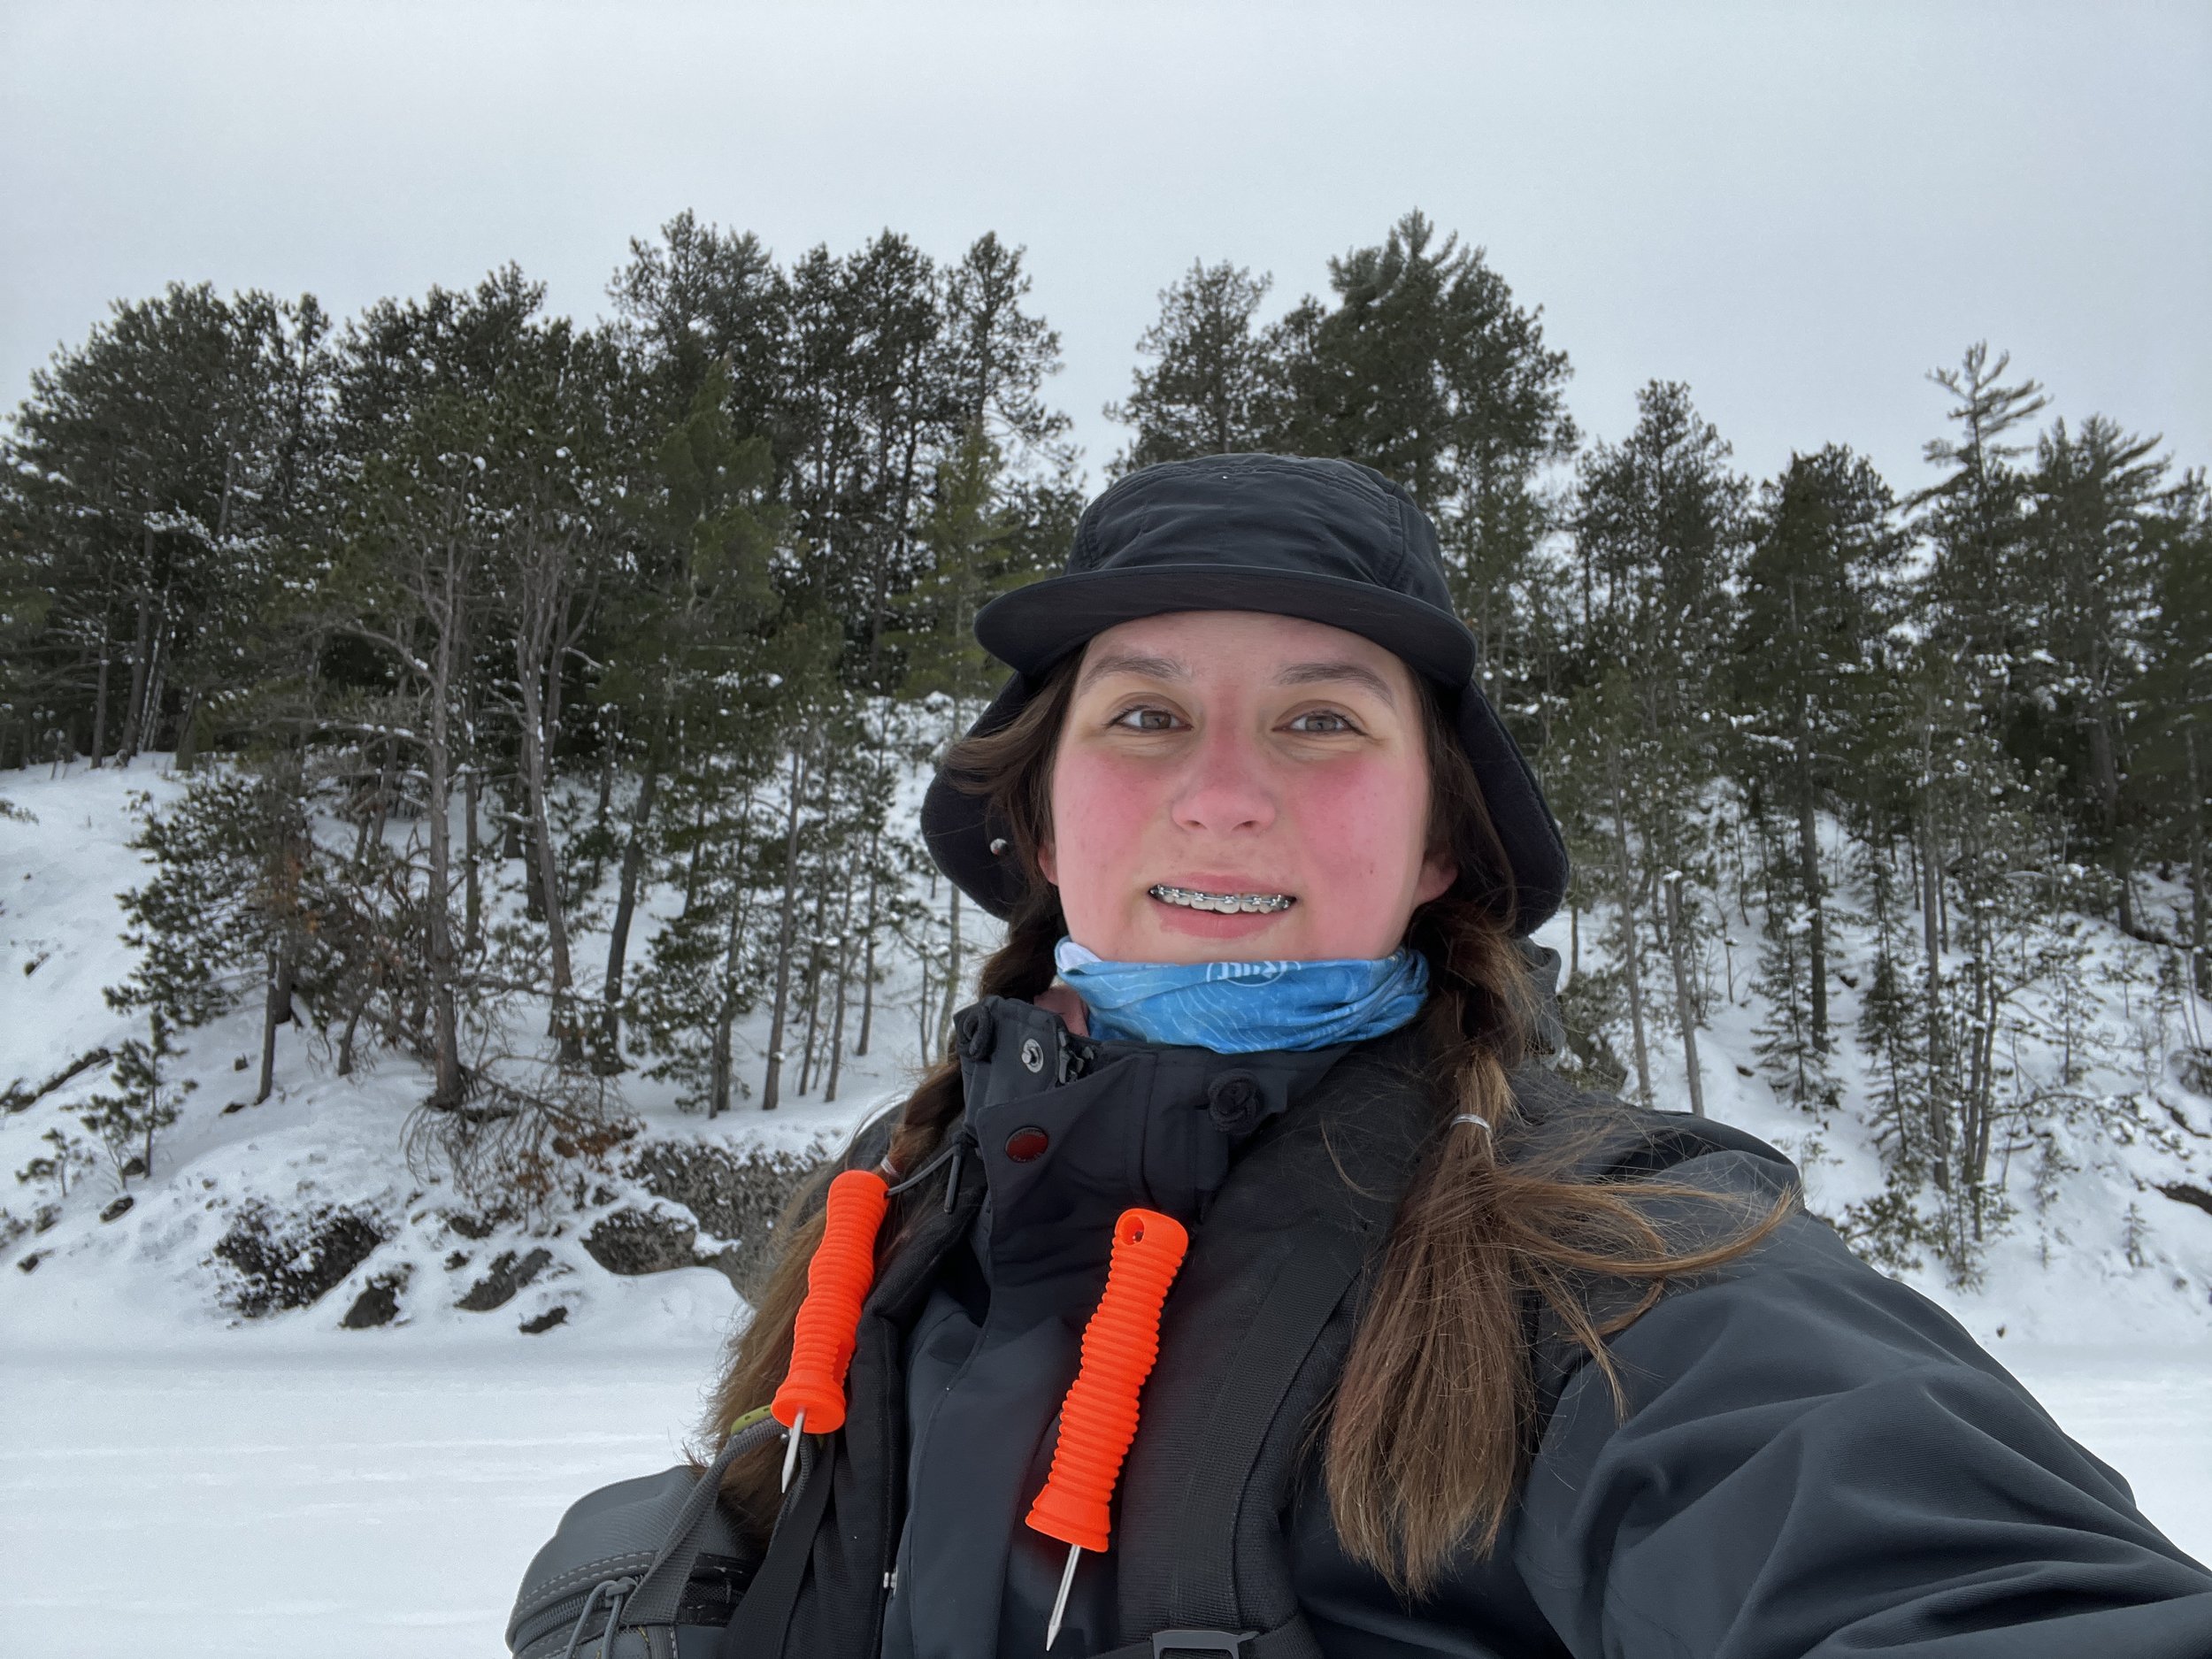
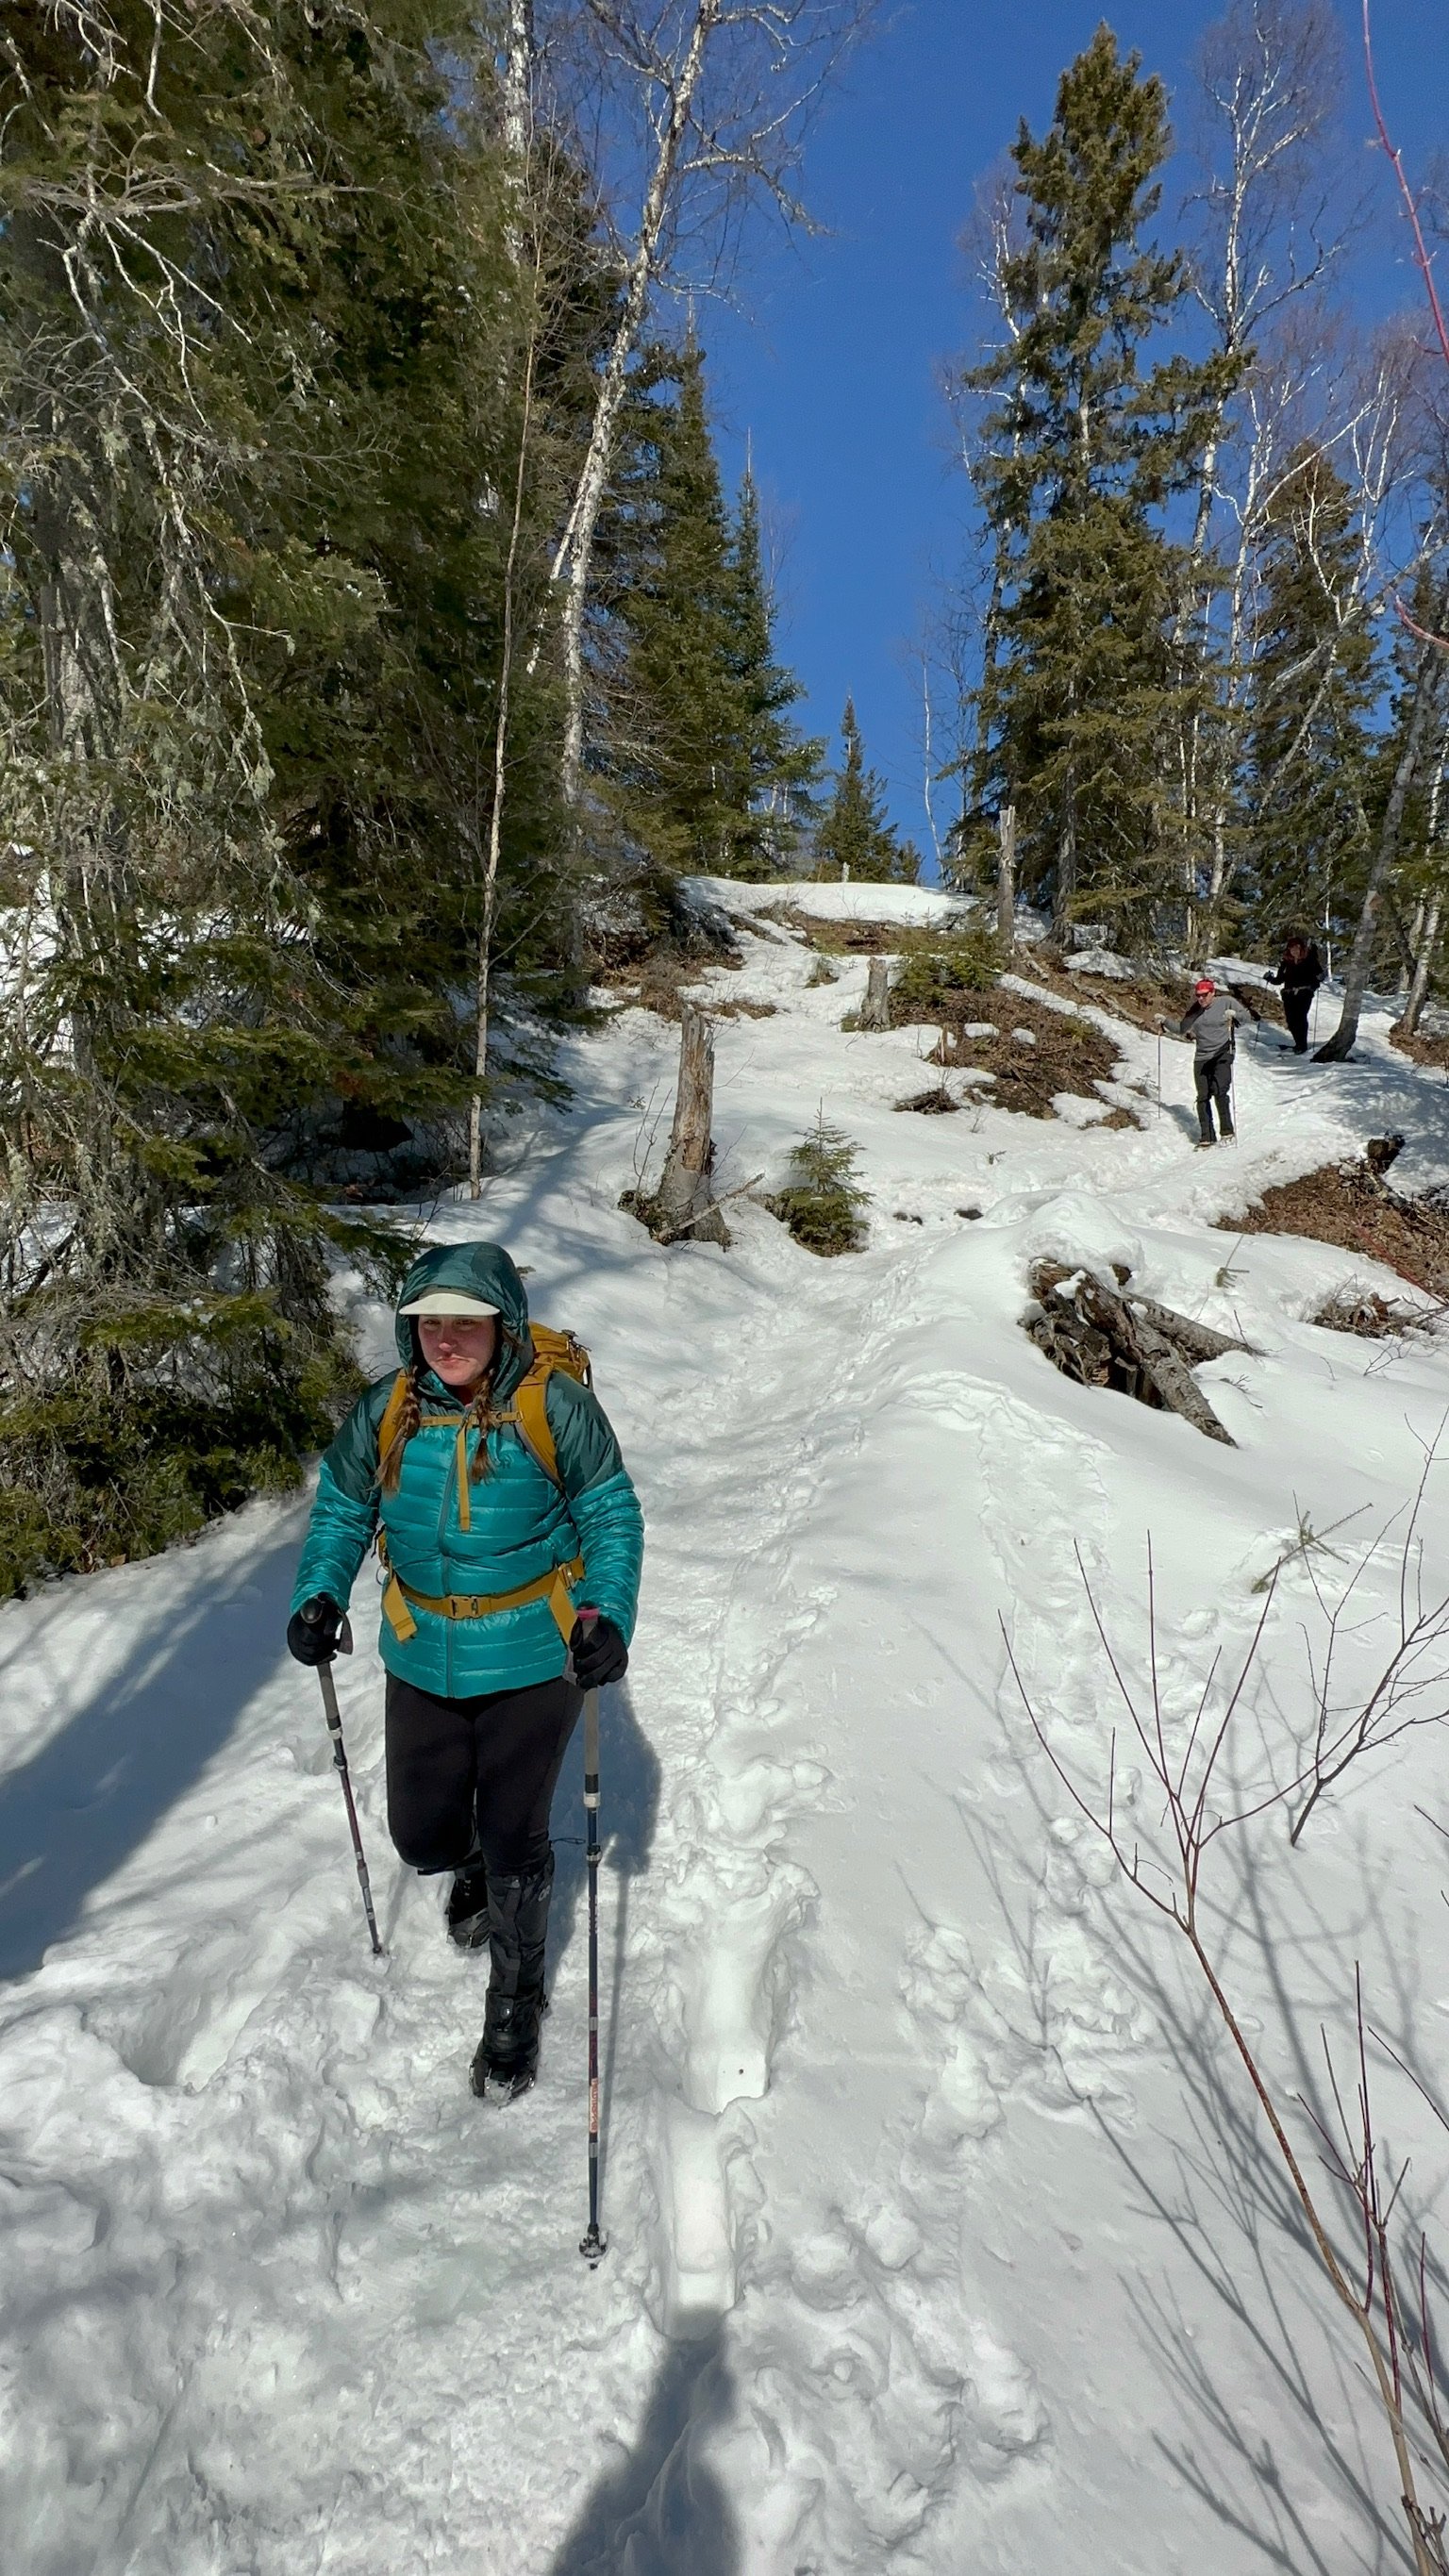
Many Layers of Clothing - Having the right clothing and managing layers appropriately are key to your comfort while winter camping. You’ll want to stick with a system that allows a base layer, middle layer, and outer layer, so that you can add and remove items based on your level of activity. Don’t forget items like a hat, multiple pairs of gloves, extra socks, and a couple neck gaiters. Here’s an example of the layers I typically bring.
For Hiking
Merino Wool Tshirt
Synthetic Long Sleeve Sun Shirt
Fleece Hoodie
Down Jacket
Shell Jacket
Fleece Lined Leggings
Rain Pants
Wool Socks
Hat
Gloves
Neck Gaiter
For Sleeping
Long Sleeve Merino Wool Shirt
Merino Wool Pants
Thick Wool Socks
Fleece Hoodie
Fleece Lined Pants
Footwear, Gaiters, and Traction Devices - This is not the occasion to skimp out on camp shoes. I usually bring a pair of winter boots for hiking and a different set of boots for hanging out at camp. If you want to be really bougie, there are a few outdoor retailers that sell down booties. I love mine! I also invested in a pair of lightweight gaiters this year because I got sick of snow piling up inside my boots. Game changer. The Outdoor Research Helium Hiking Gaiters performed really well and were super lightweight, but there are many other options on the market. And lastly, you’ll want a pair of microspikes and/or snowshoes to keep you upright on the snow and ice.
Health and Hygeine Items - Things like dental care, contacts + glasses, chapstick, poop kit with toilet paper and hand sanitizer, and a first aid kit with hand warmers. Seriously, bring ALOT of handwarmers! You can use them throughout the day when you catch a chill, but they’re most helpful in your sleeping bag at night!
How I Carried It | Backpacking vs Pulk Sled
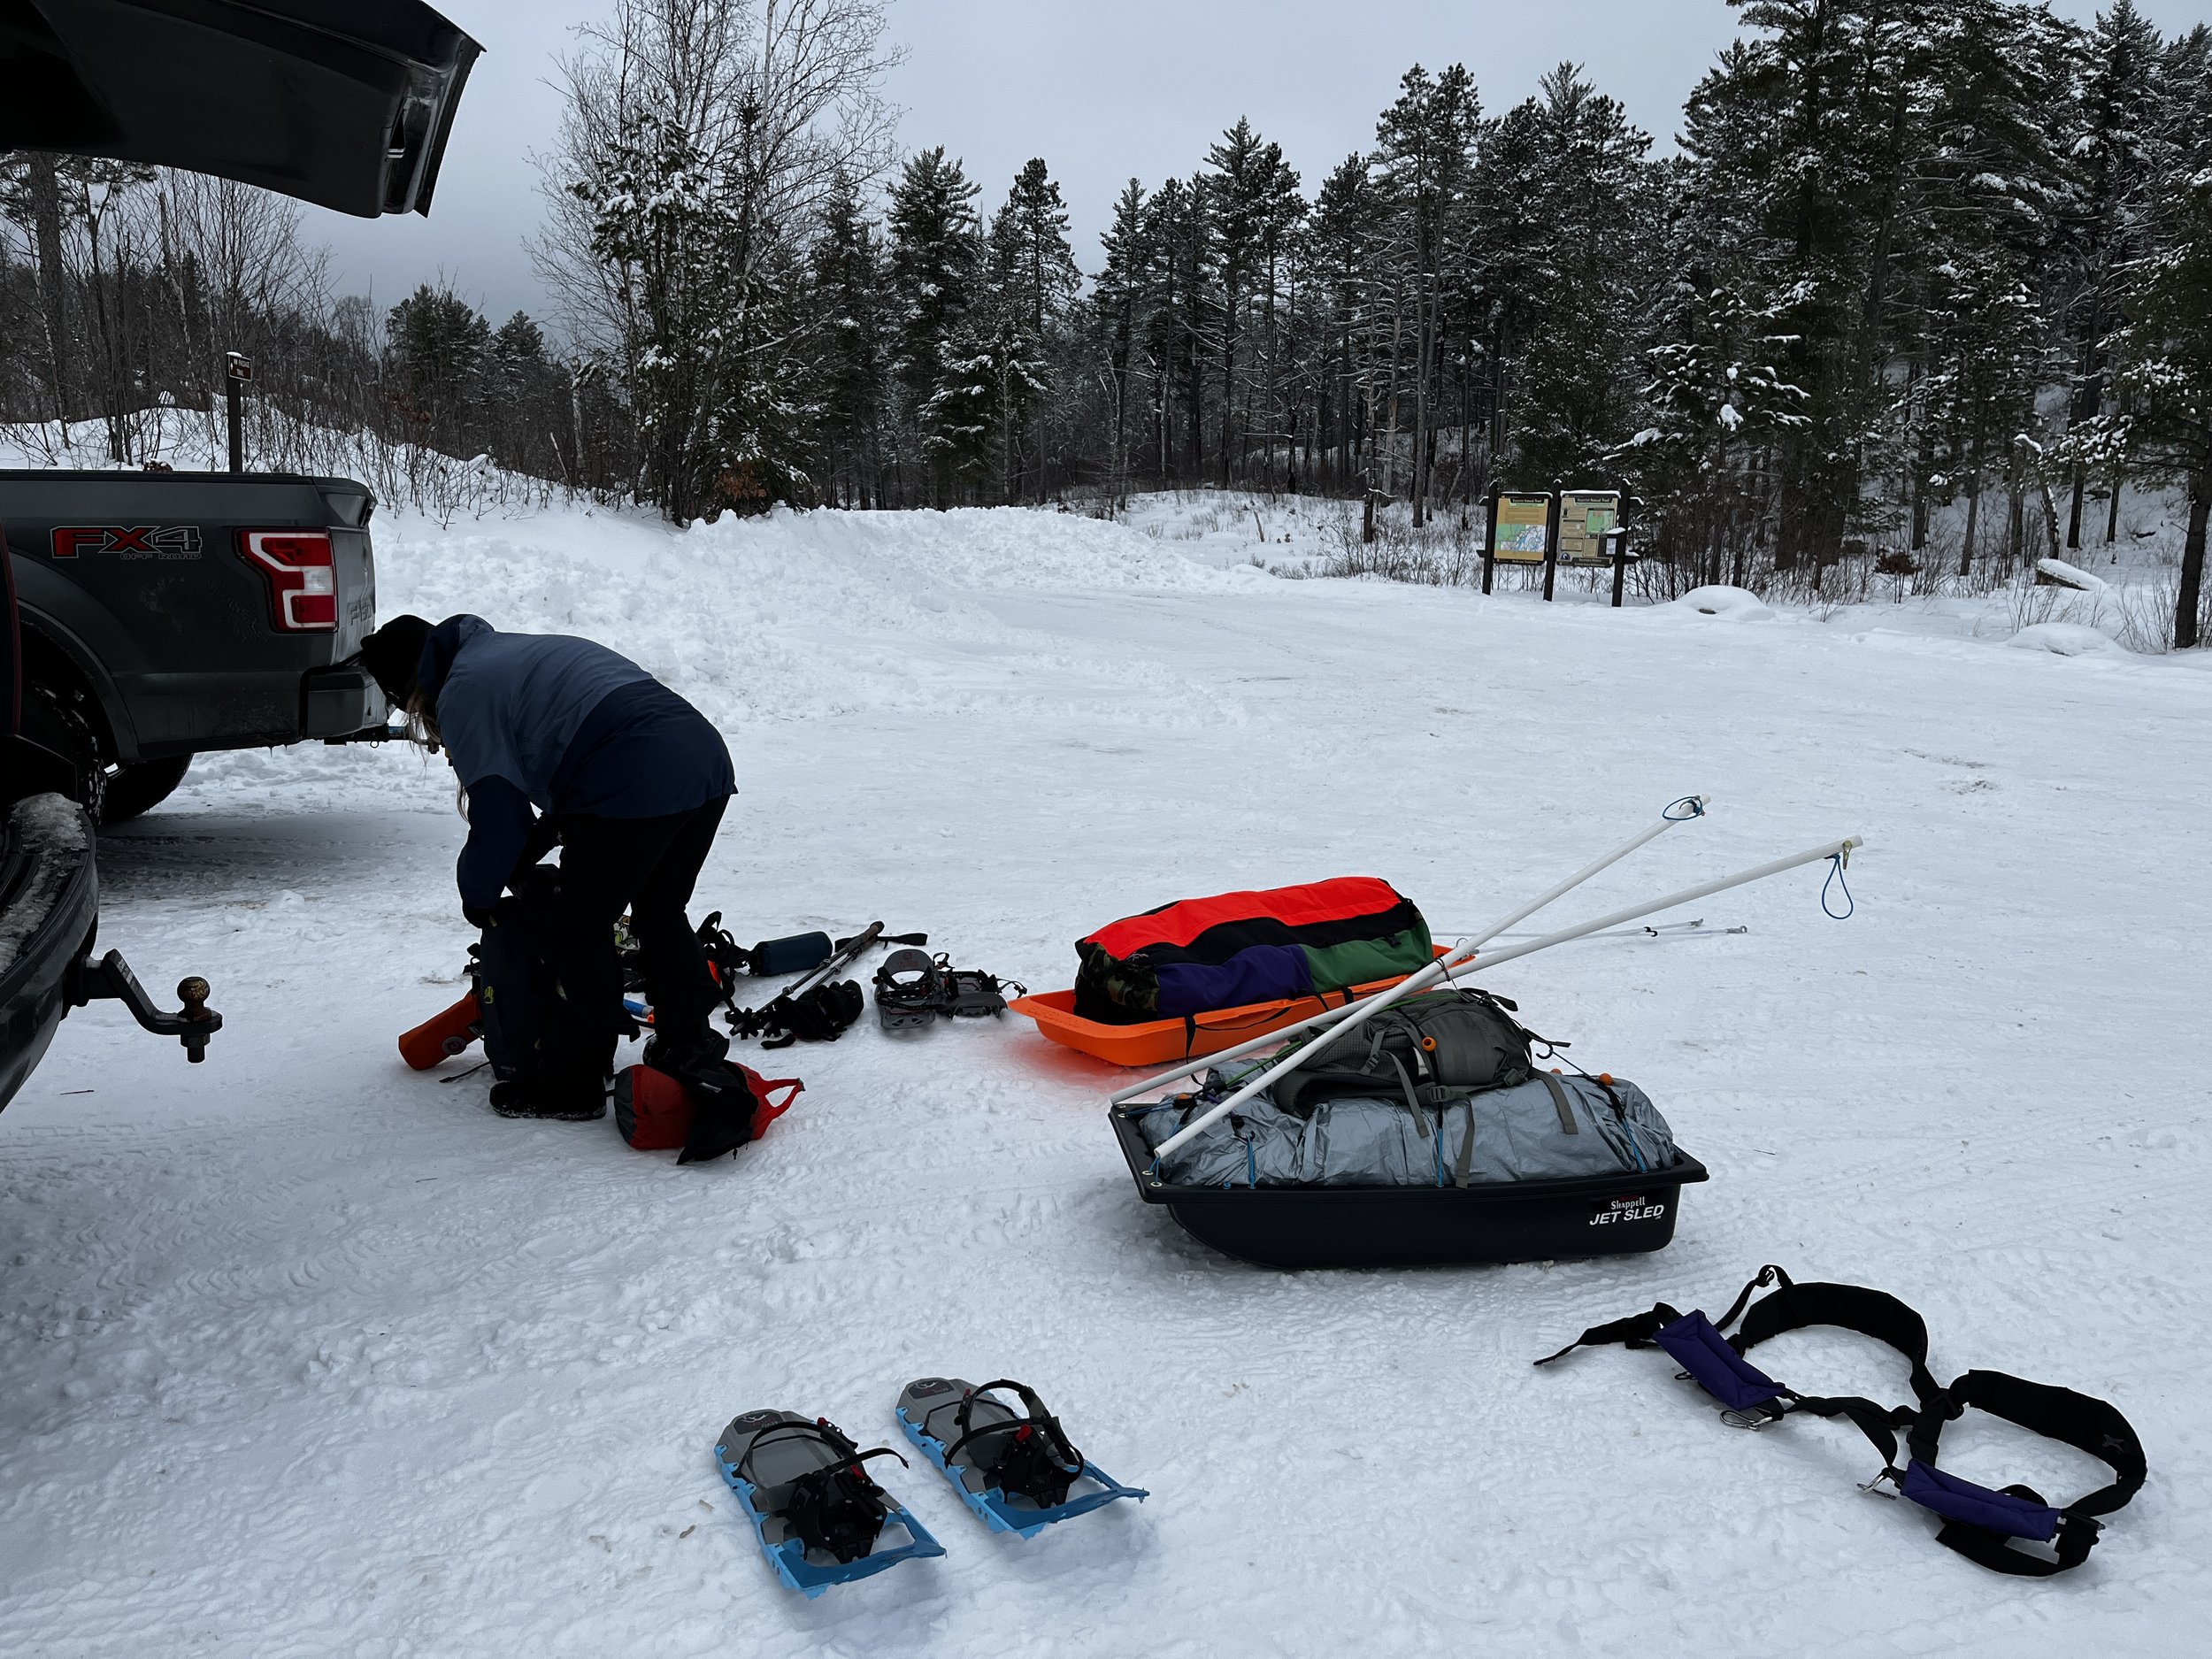
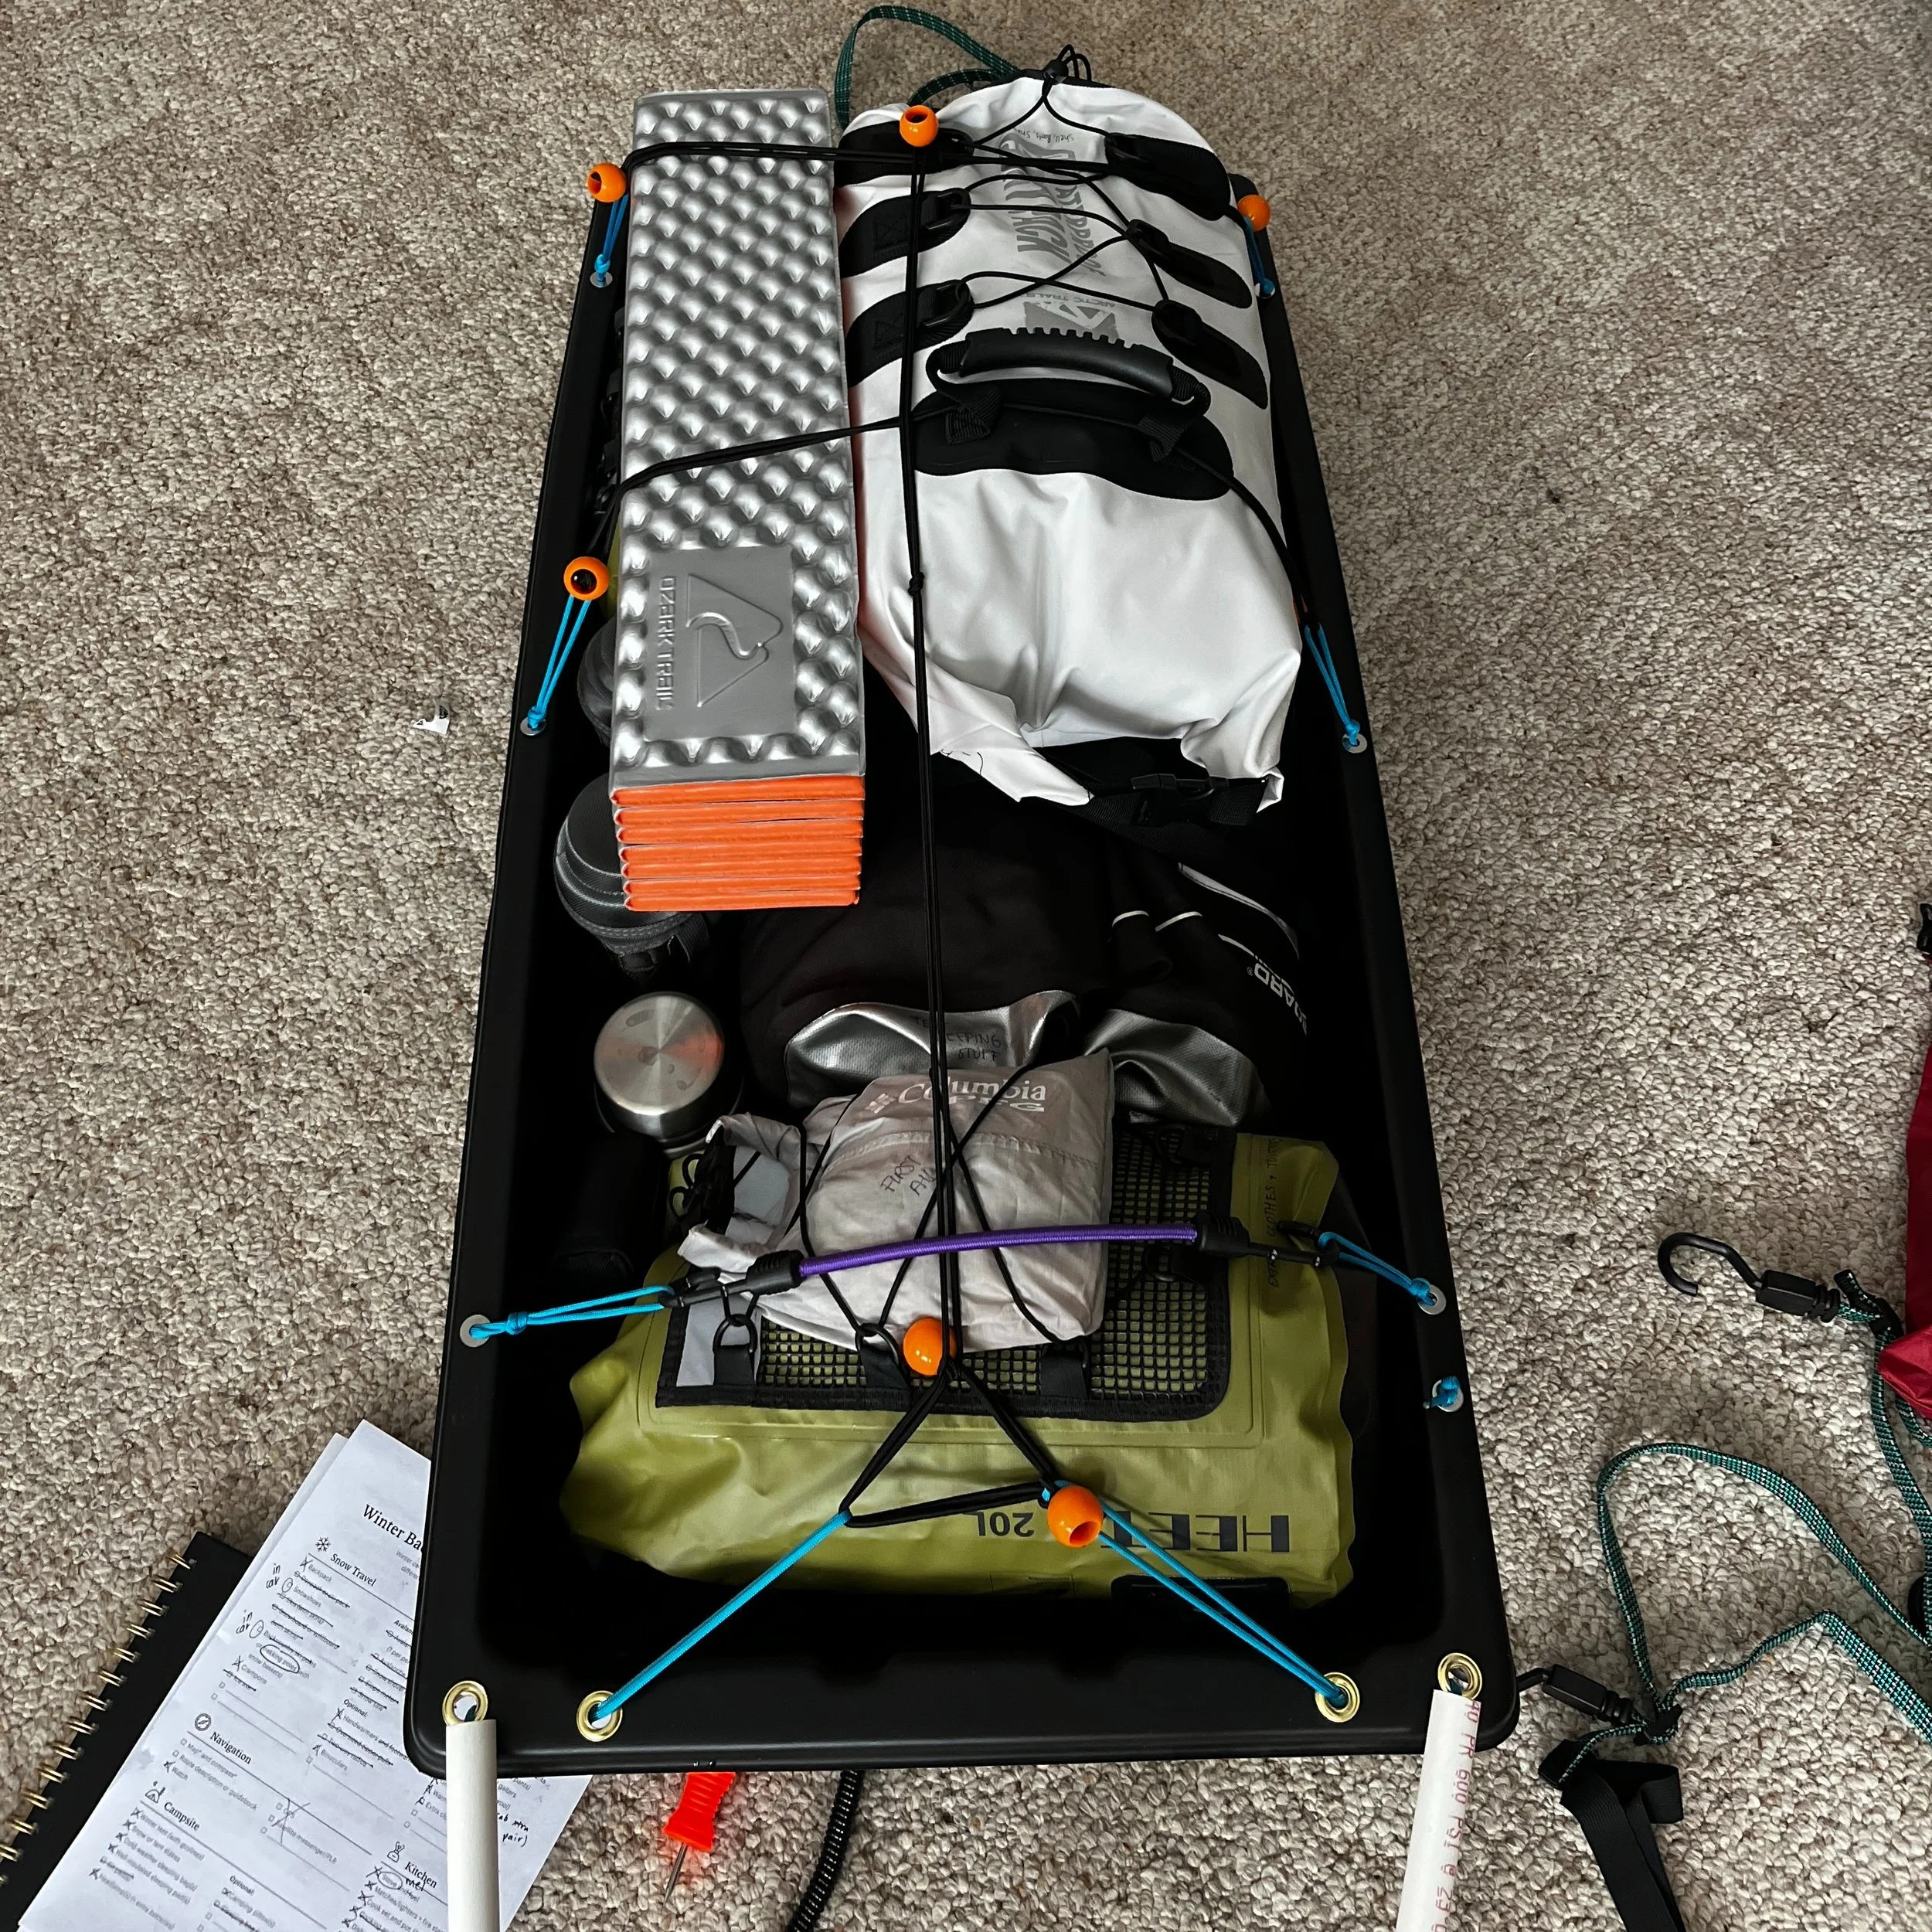
There are pros and cons to backpacking or pulling a sled and we’ll dive into that here. If you’re planning to carry everything on your back, you’ll probably need a larger pack than you use in the summertime, because winter camping requires so much extra gear. I struggled with this because I invested in alot of “ultralight” gear for the summertime. Most of the packs I have will not accomodate all the things I need in the winter to stay warm. Pack as lightly as you can, but always make sure you're prepared for winter conditions. One major con of wearing a backpack on winter trips is that sweat will accumulate on your back while you hike. It’s unavoidable. That’s where the sled comes in. A sled helps you to reduce weight on your back and lets you carry more gear. A sled is not practical for all terrain (steep slopes and narrow trails can be difficult), so research your route and trail conditions beforehand. REI has a great guide on how to build your own pulk sled. I used this guide to build my own (pictured above) and the total cost came in around $80. I did some research before building my own, and saw that a brand new pulk sled can cost upwards of $300, so this decision felt okay. If I had to choose between backpacking and pulling my sled, I’d choose the sled. If you have the right harness, it barely feels like you’re pulling anything behind you.
Where I Stayed
The three destinations that I winter camped at this season are:
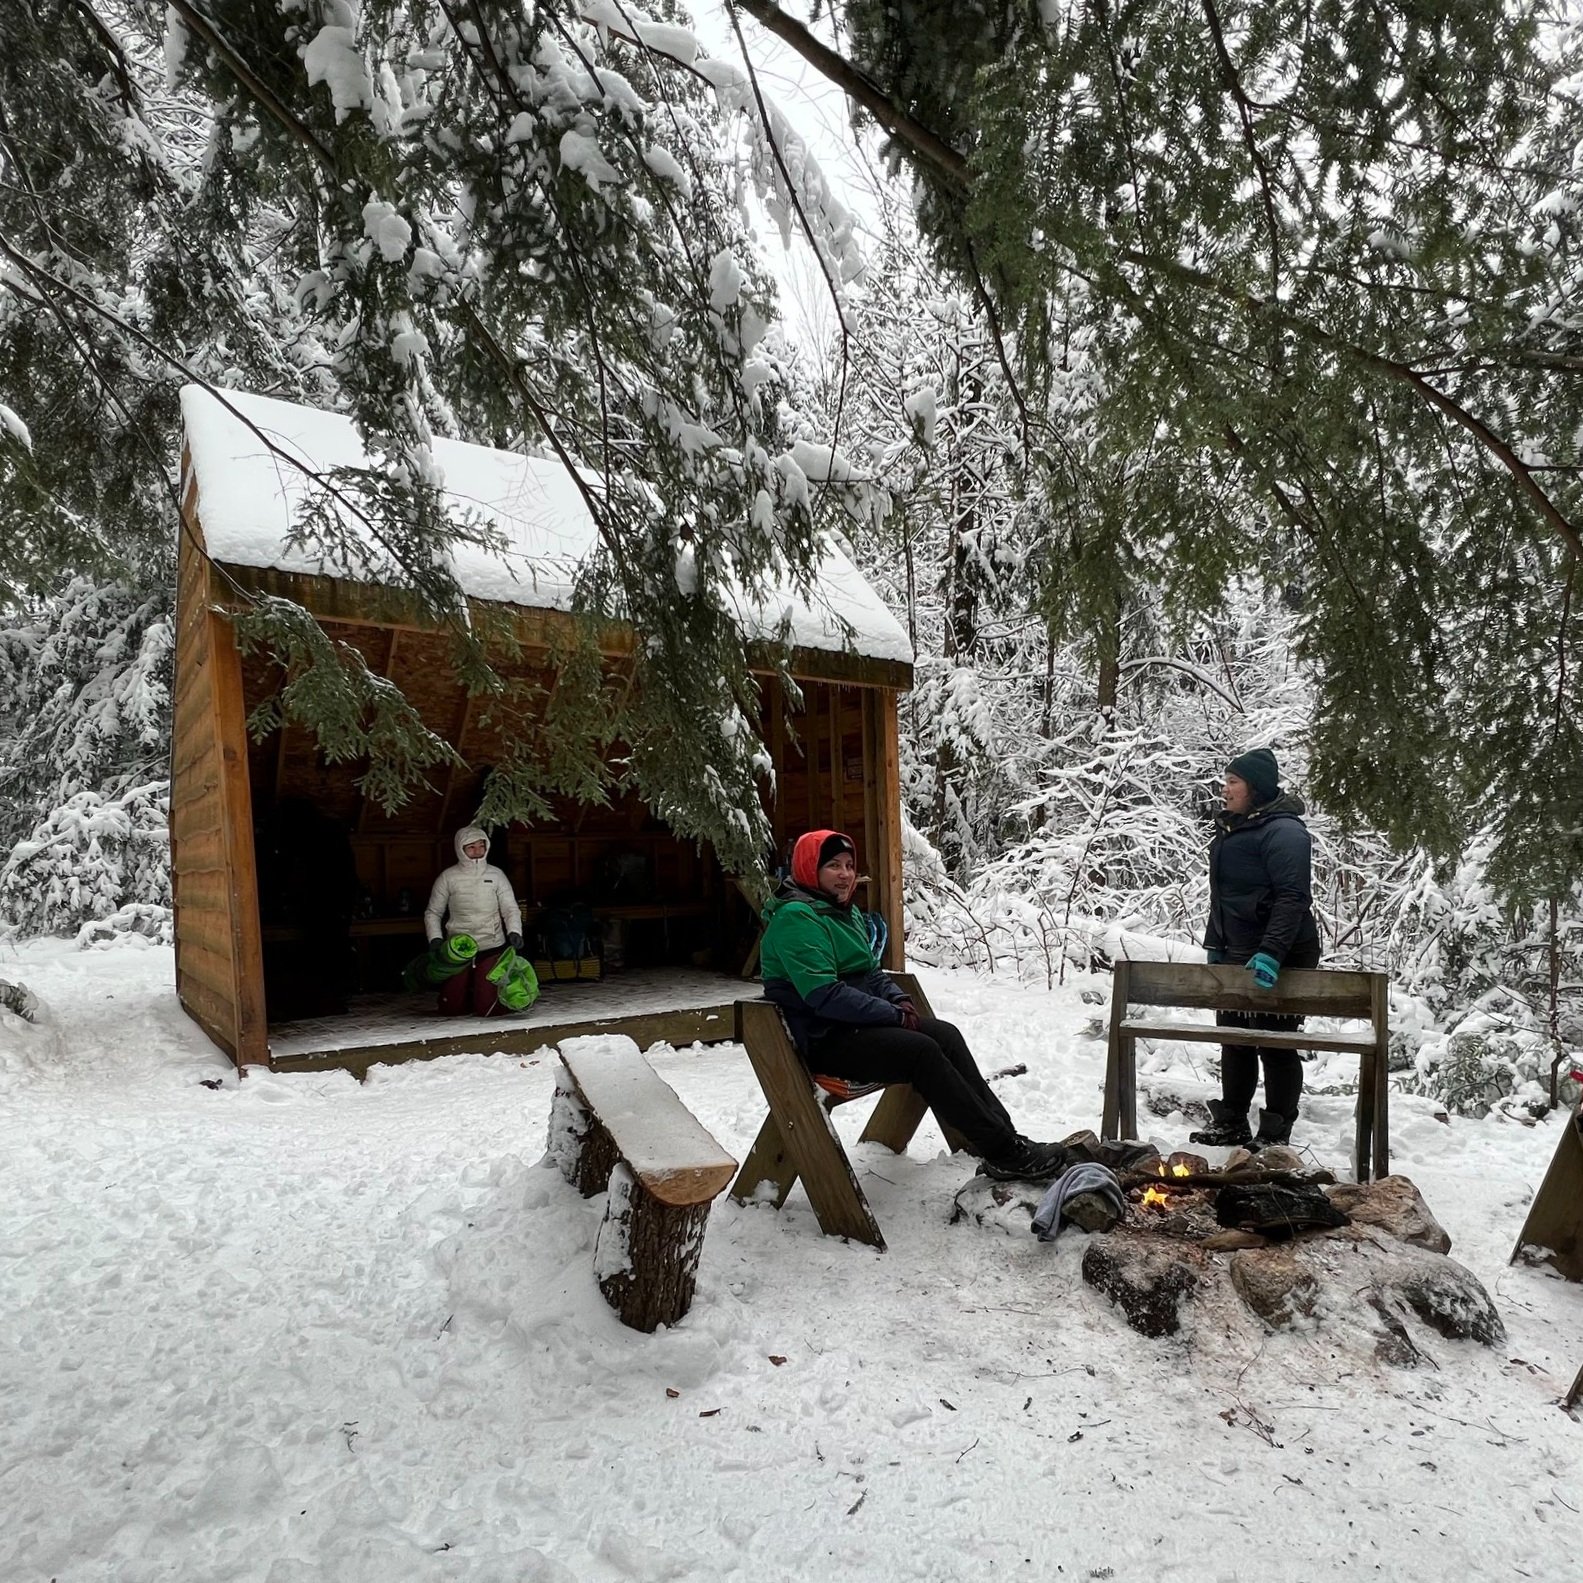
Underdown Segment of the Ice Age National Scenic Trail near Gleason, Wisconsin
Bear Head Lake State Park near Ely, MN
Tettegouche State Park near Silver Bay, MN
Cascade River State Park near Lutsen, MN
Many Minnesota State Parks have campgrounds that stay open year-round and you can find a list of them here. Some of them offer electric sites, too, so you don’t have to totally rough it if you don’t want to! My husband and I brought our travel trailer up to Tettegouche State Park and camped with a little electric heater to keep us warm at night. There are so many ways to recreate, so get out there and stay active!
Felicia Hokenstad
Director of Wanderlust at the Winona Outdoor Collaborative